Hello!
I’m finally getting around to posting an update on the actor-doll!
I didn’t know that’s what he was at first, not until he started asking for satyr’s paraphernalia.
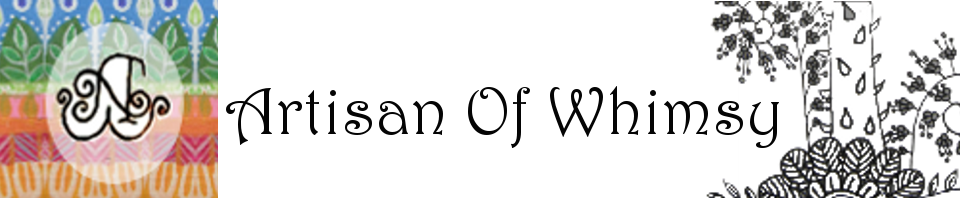
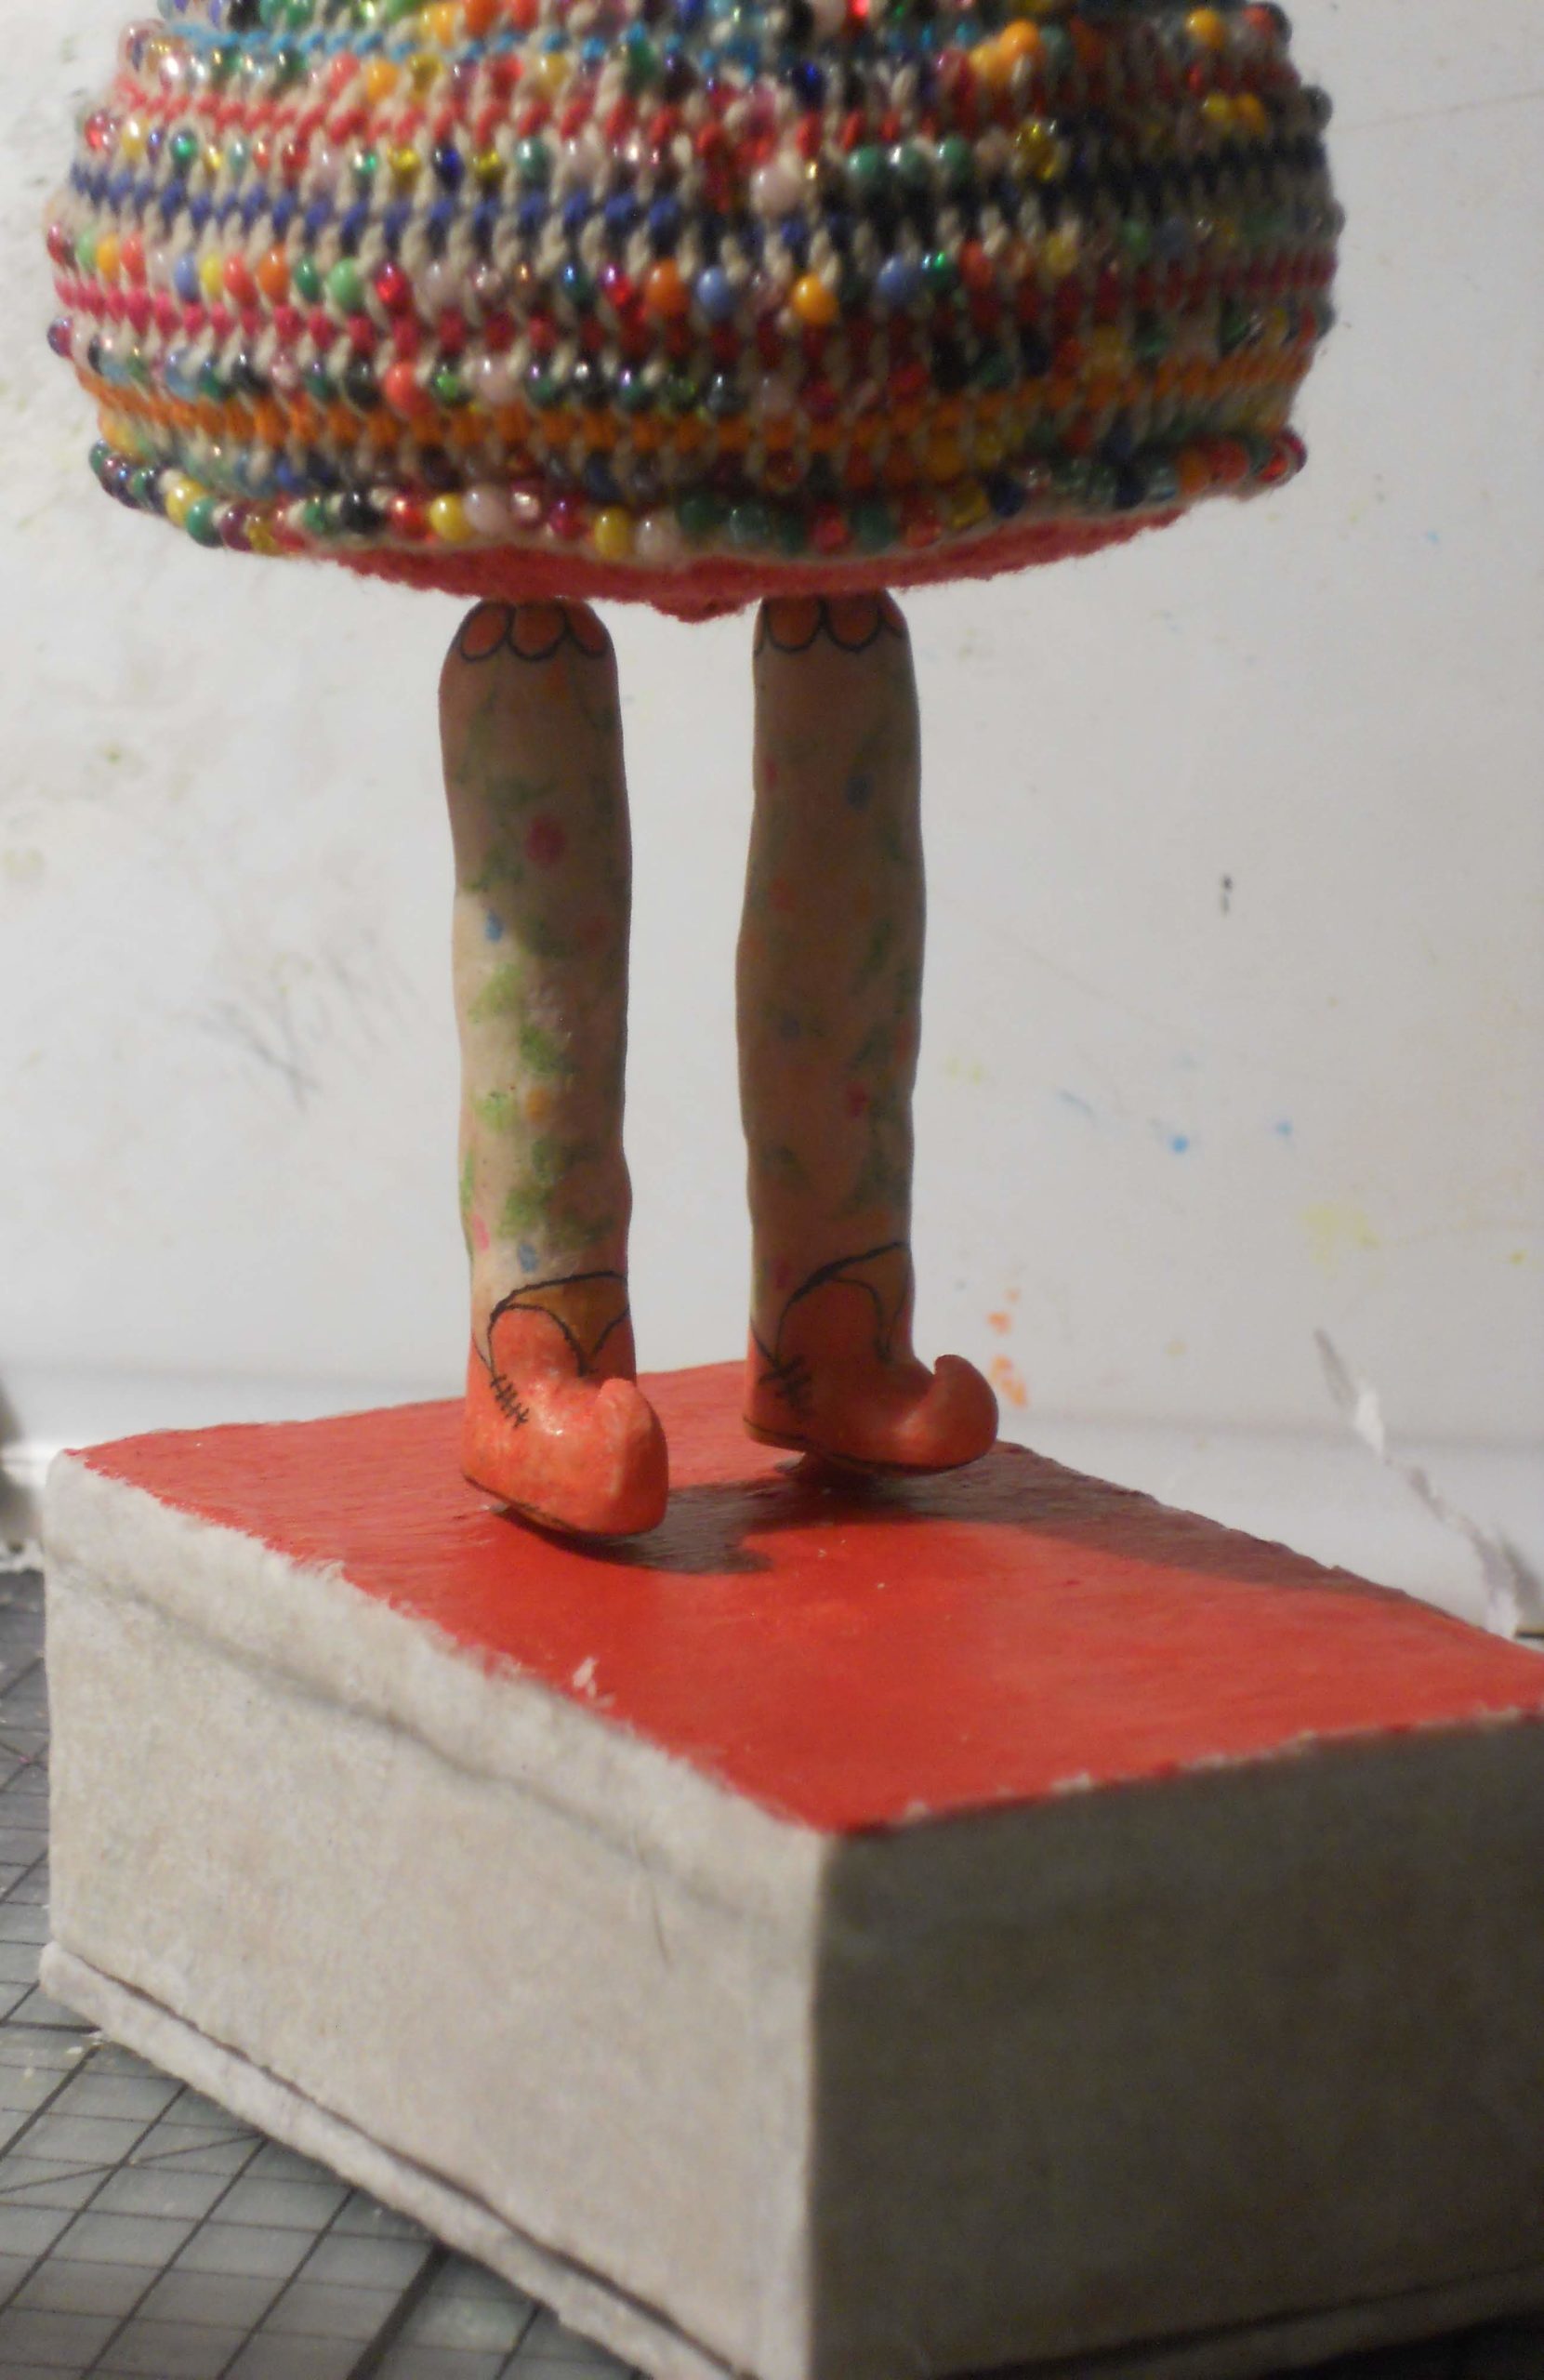
On the picture to the right is what he looks like from his right side right now, except for his stand which has evolved a bit more.
With all the little items he wanted to wear created the need for a place to store them, so the base grew to accommodate them all in. I would think he couldn’t wear them all at once.
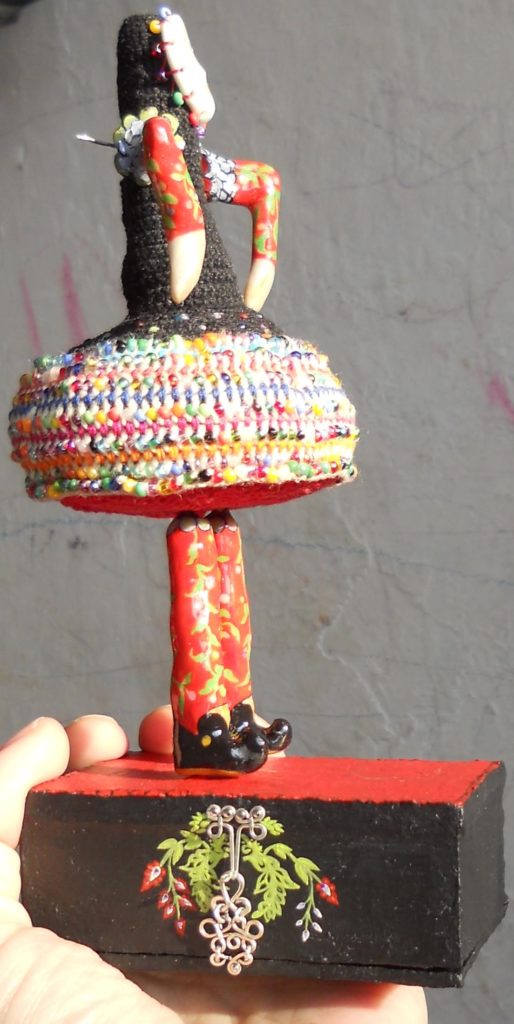
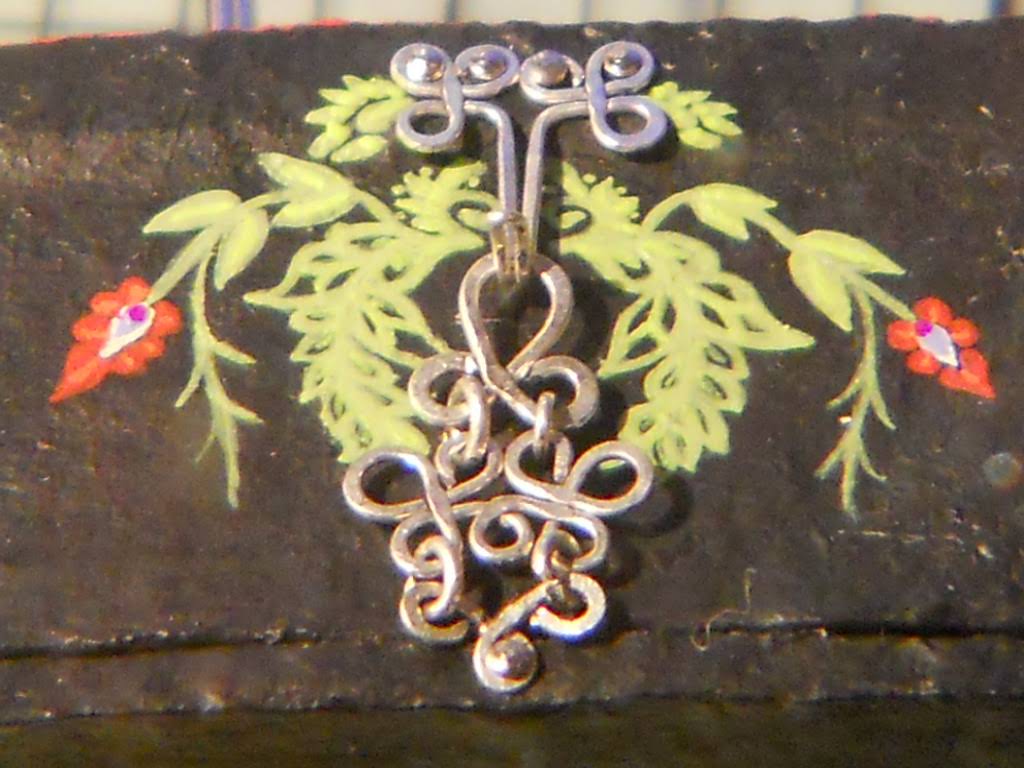
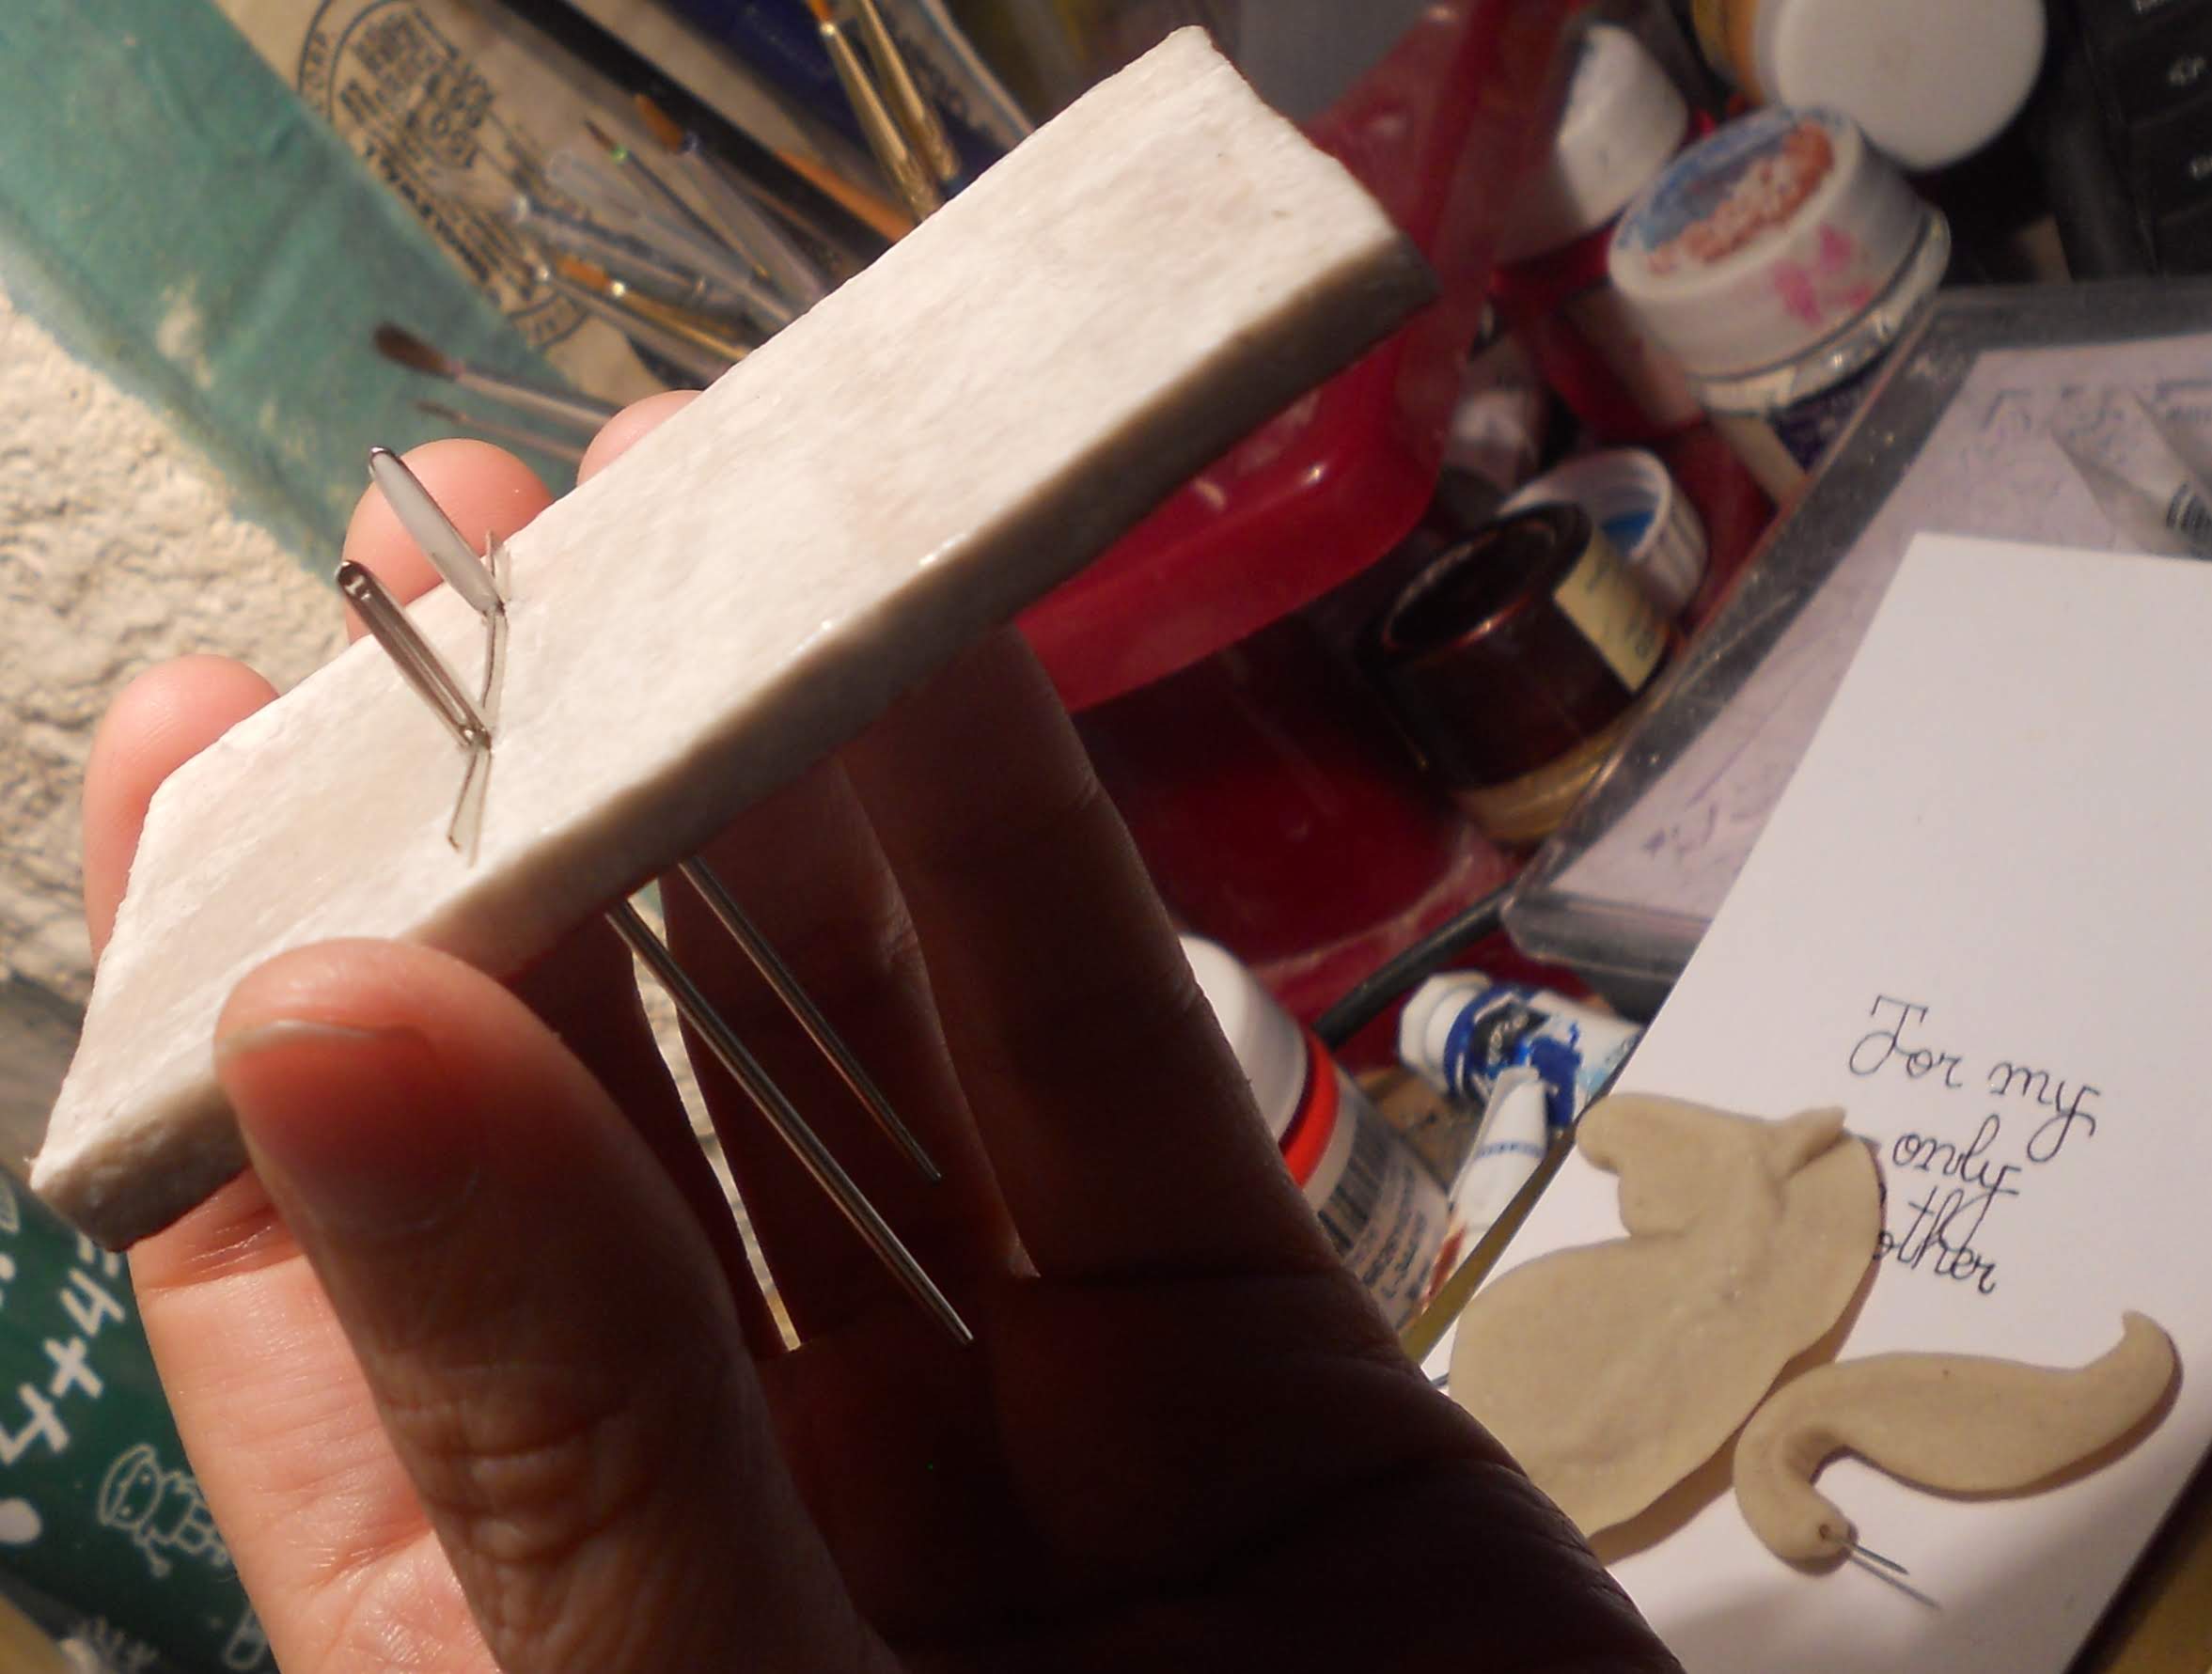
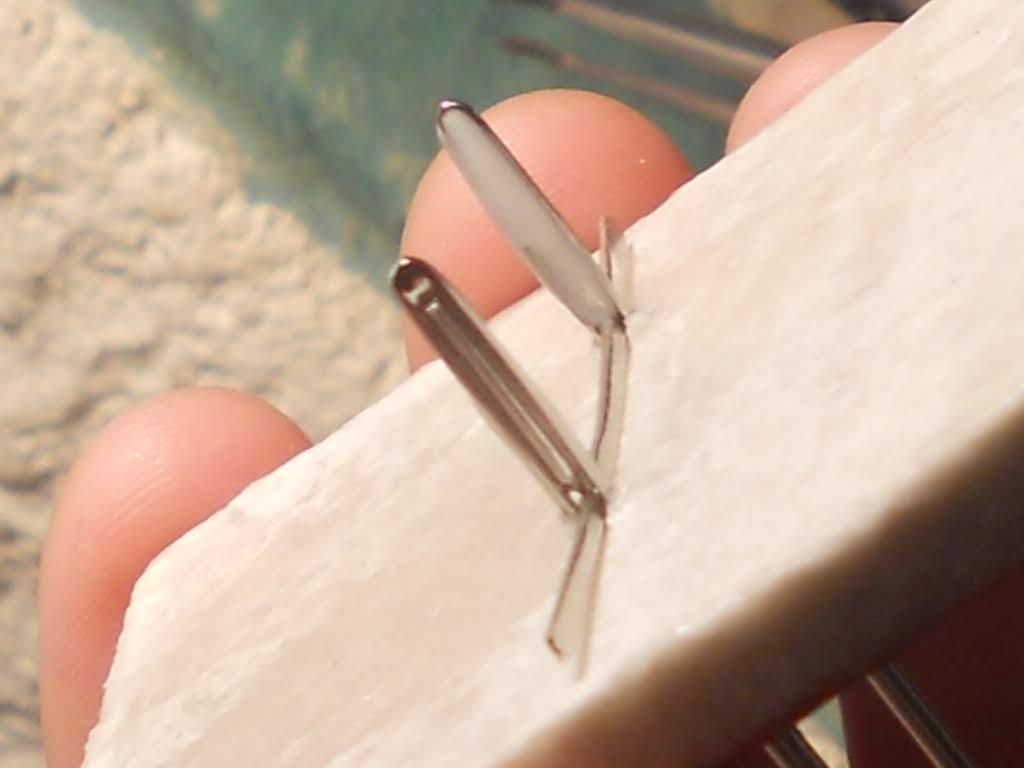
And then it needed to open wide, which also in turn involved being able to close it well so I made a German silver wire lock for it, the picture underneath shows the pieces of the lock while I was working on it
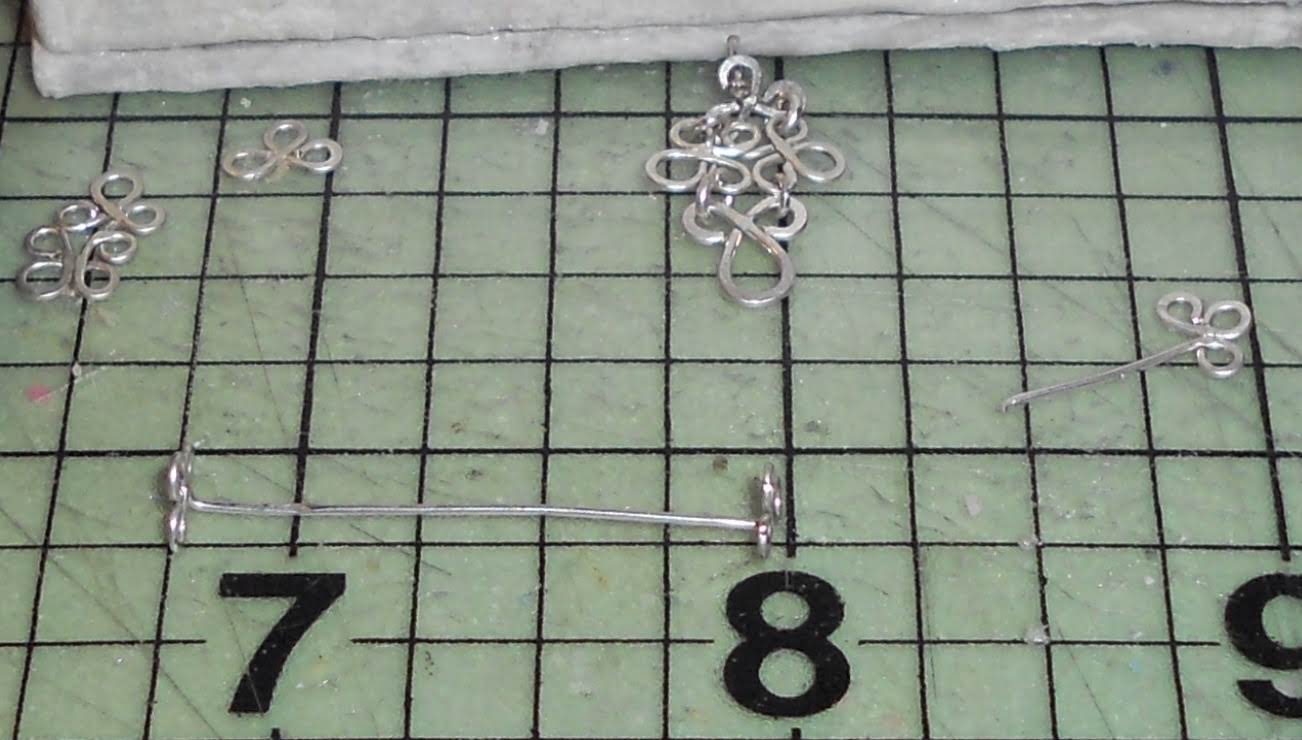
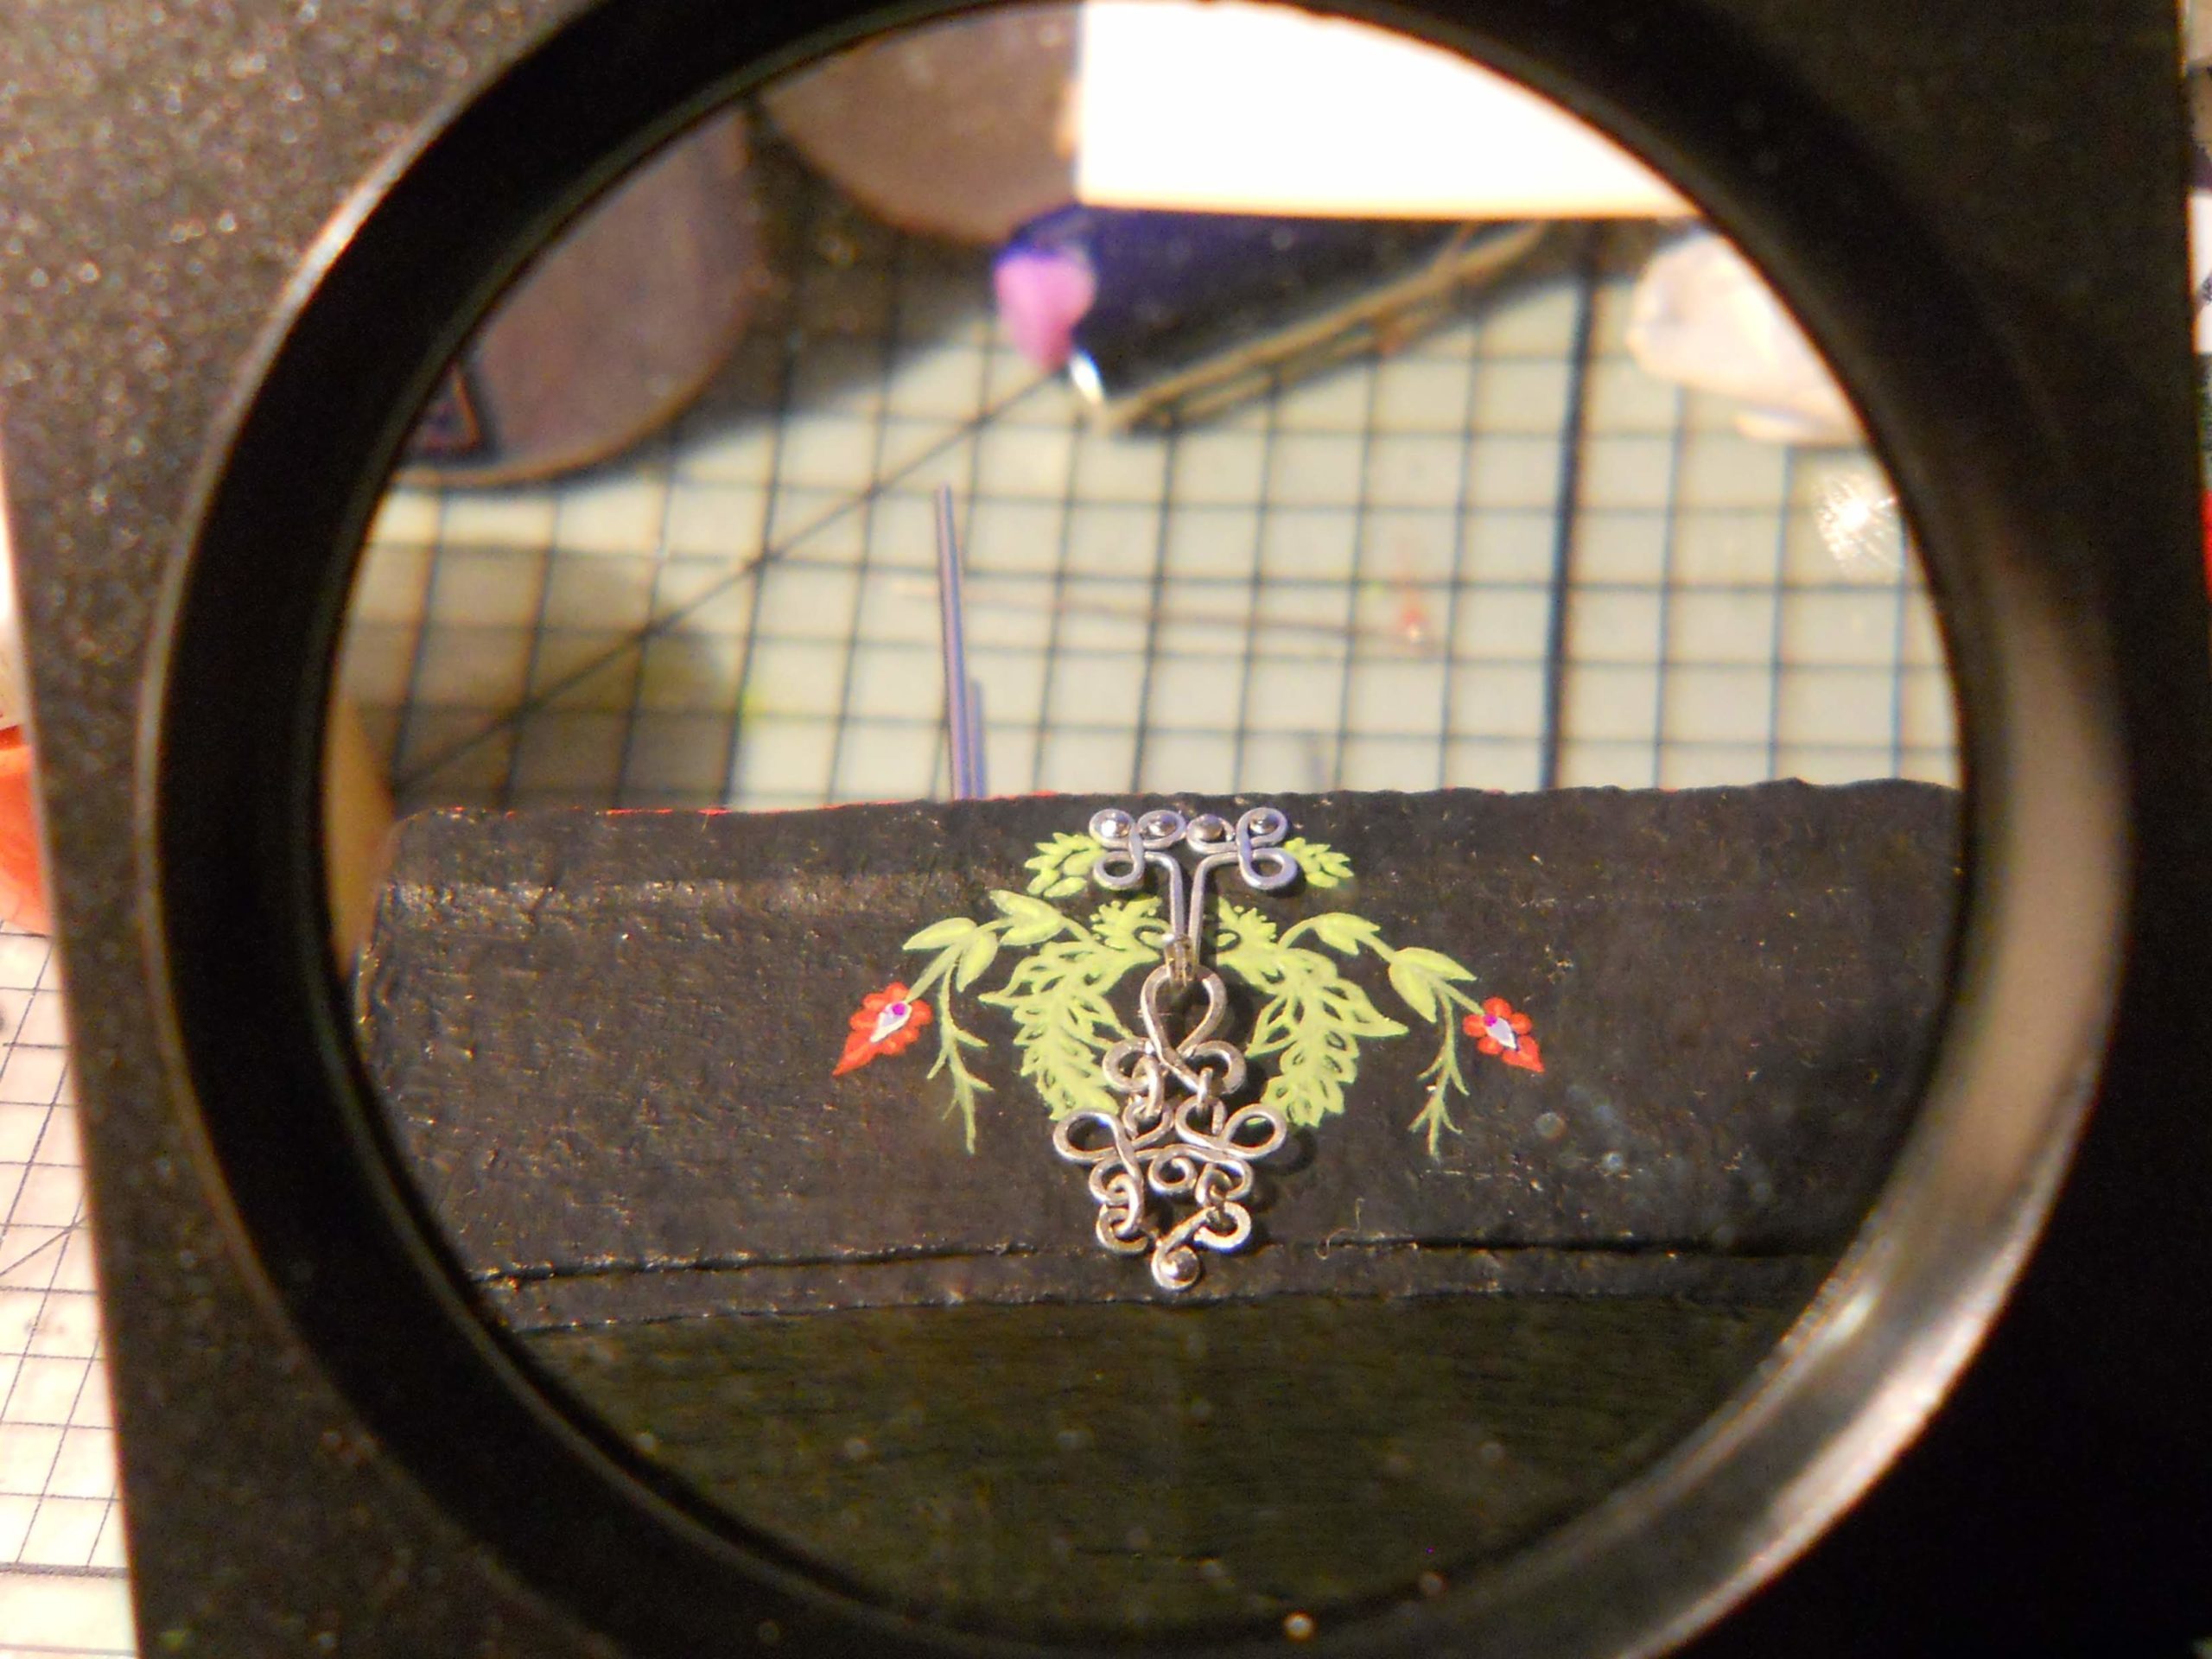
This is a view through a very handy thread counter I found at the dollar shop.
As you keep on scrolling down you’ll see a couple pictures I was able to get while I painted some botanical motifs to frame it with.
I attached the lock to the box with sewing pins. I just hammered them in place.
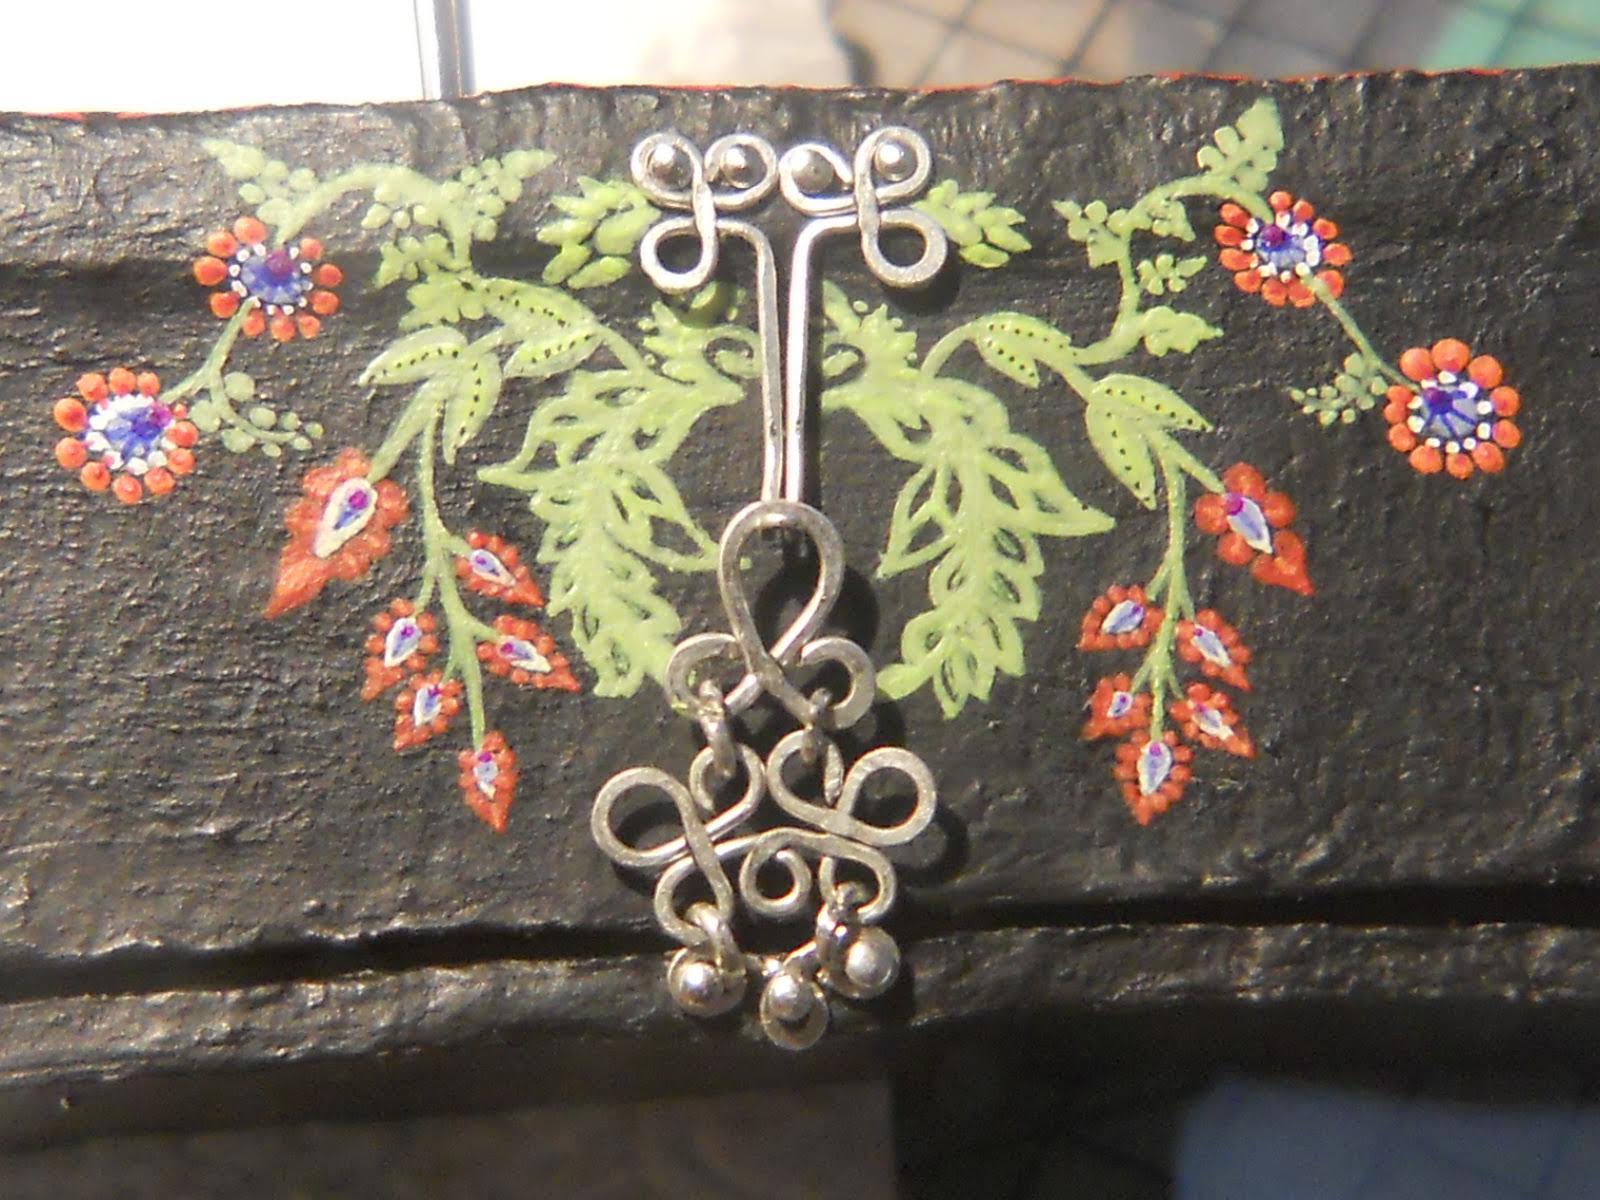
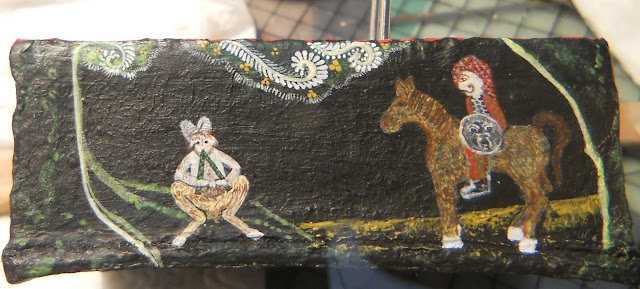
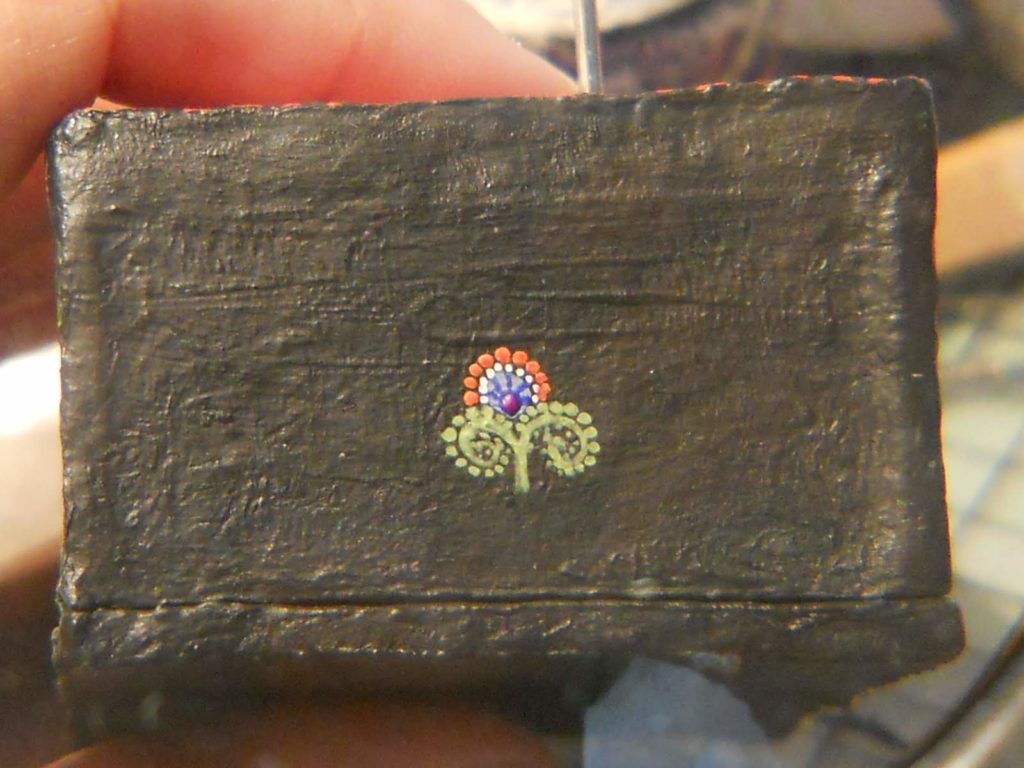
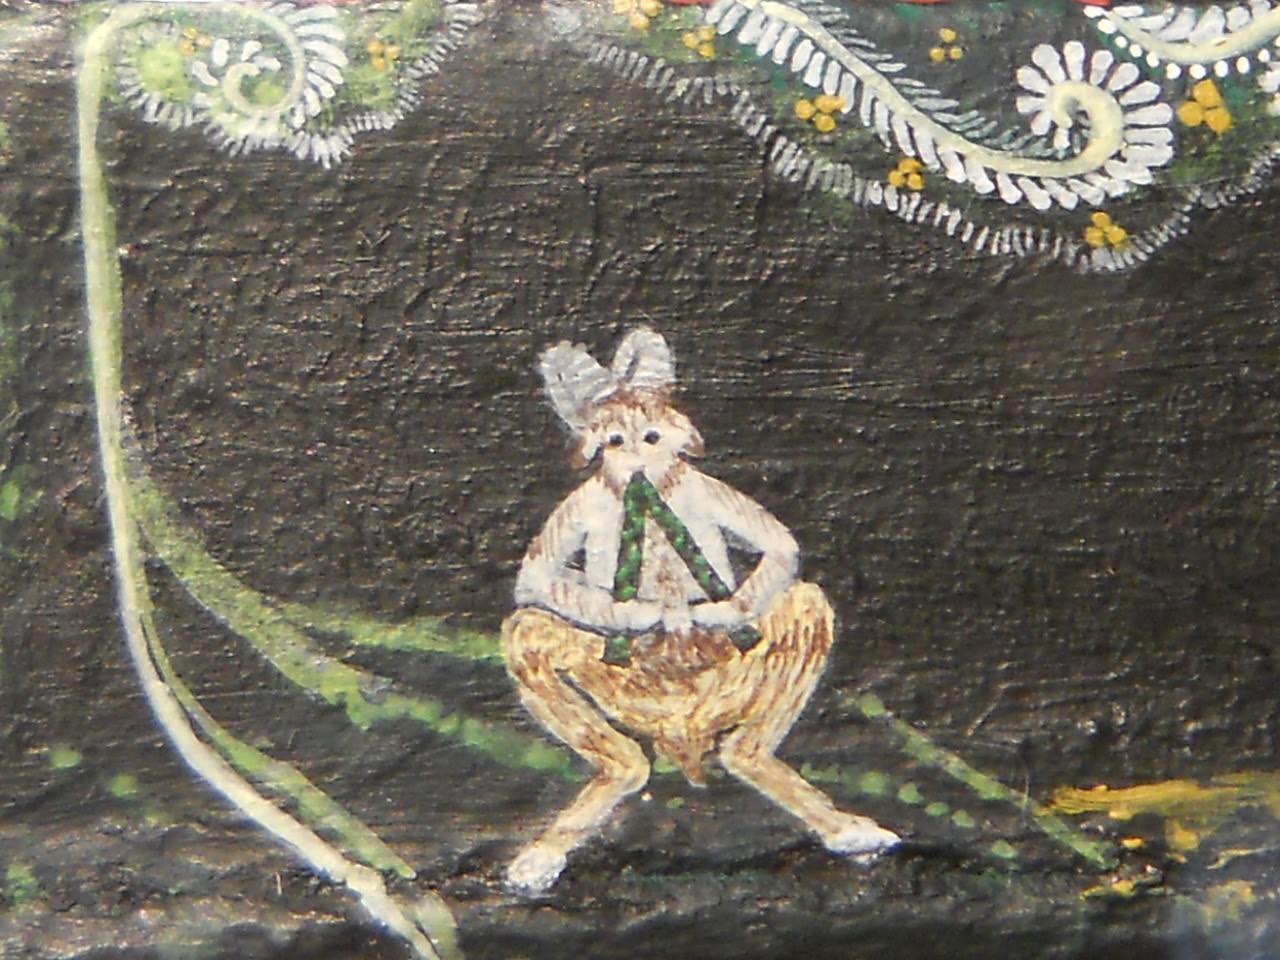
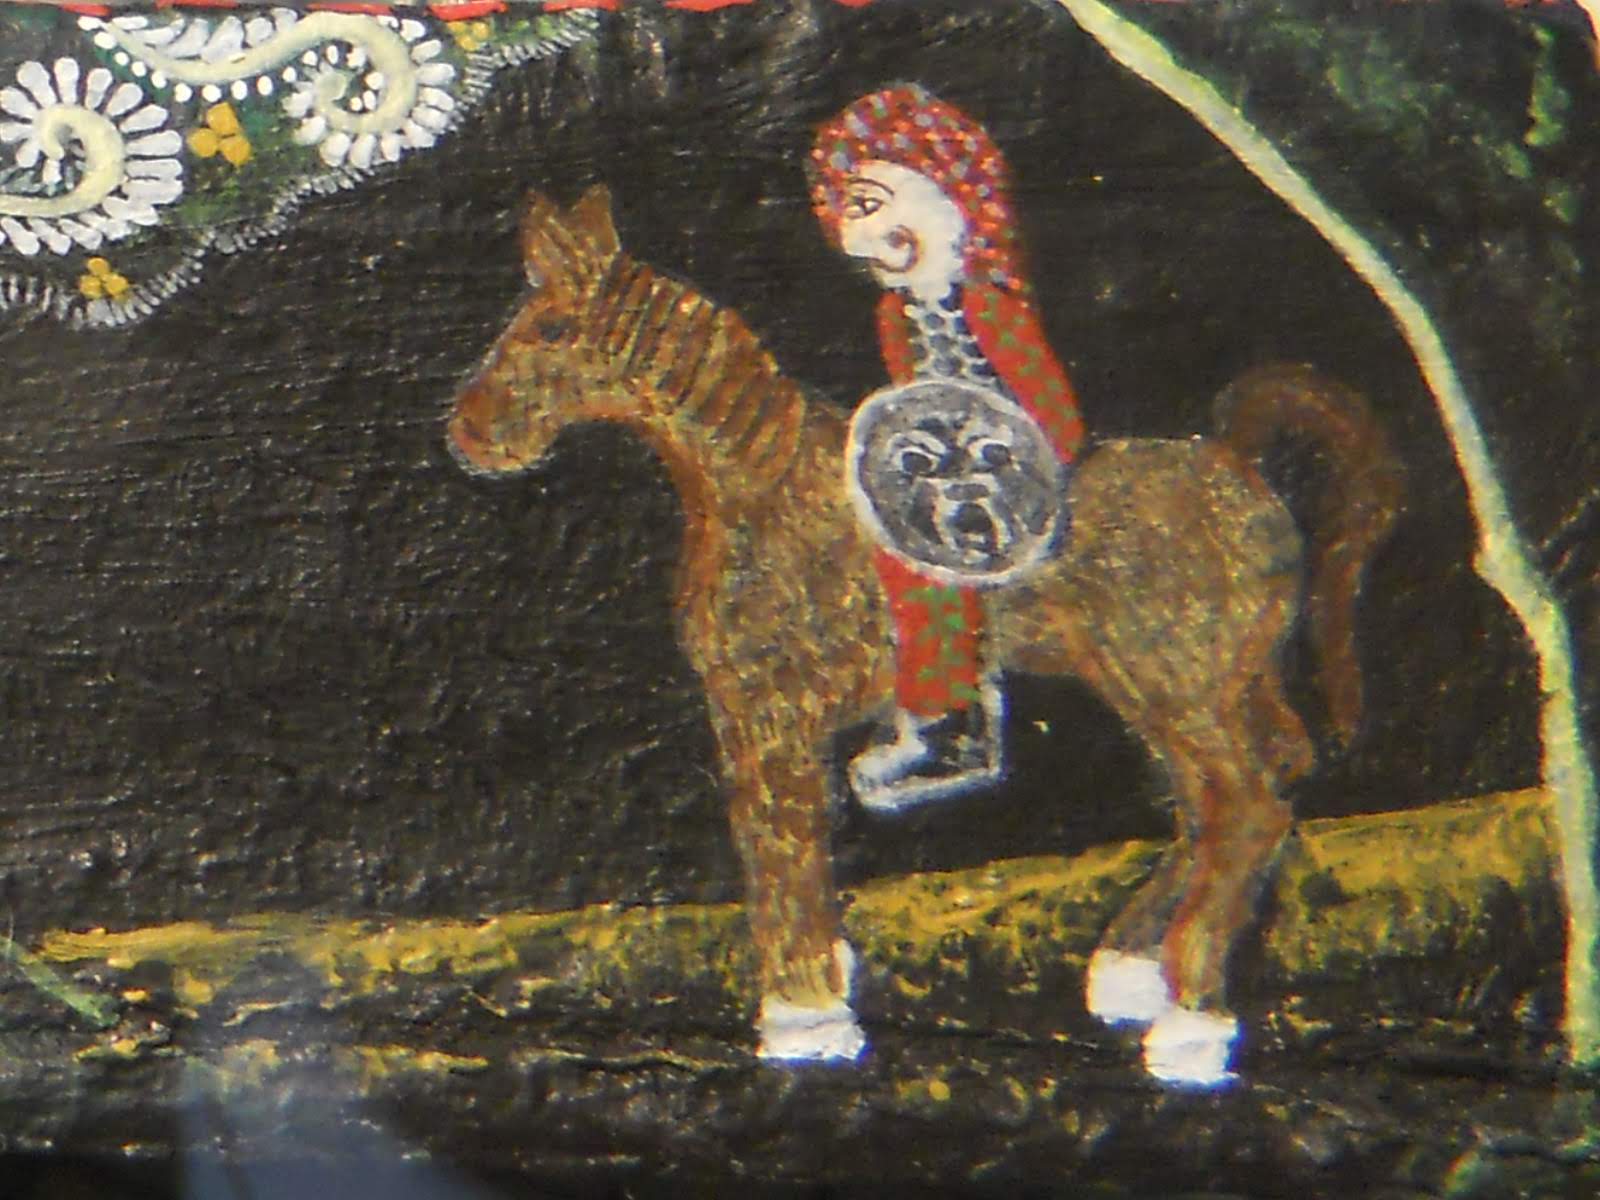
I painted tiny flowers on both ends of the stand and on the long side opposite to the lock a knight gazing upon a distracted Imp. All this drawings/paintings are rather miniatures, I think you may get an idea of their proportion by looking at the pin’s heads on the lock. I need to add a video of how to open and close that lock. It’s easy but it may be helpful :)
OK, time for some music!
The dream collage song reminded my daughter and I SO much of this song!
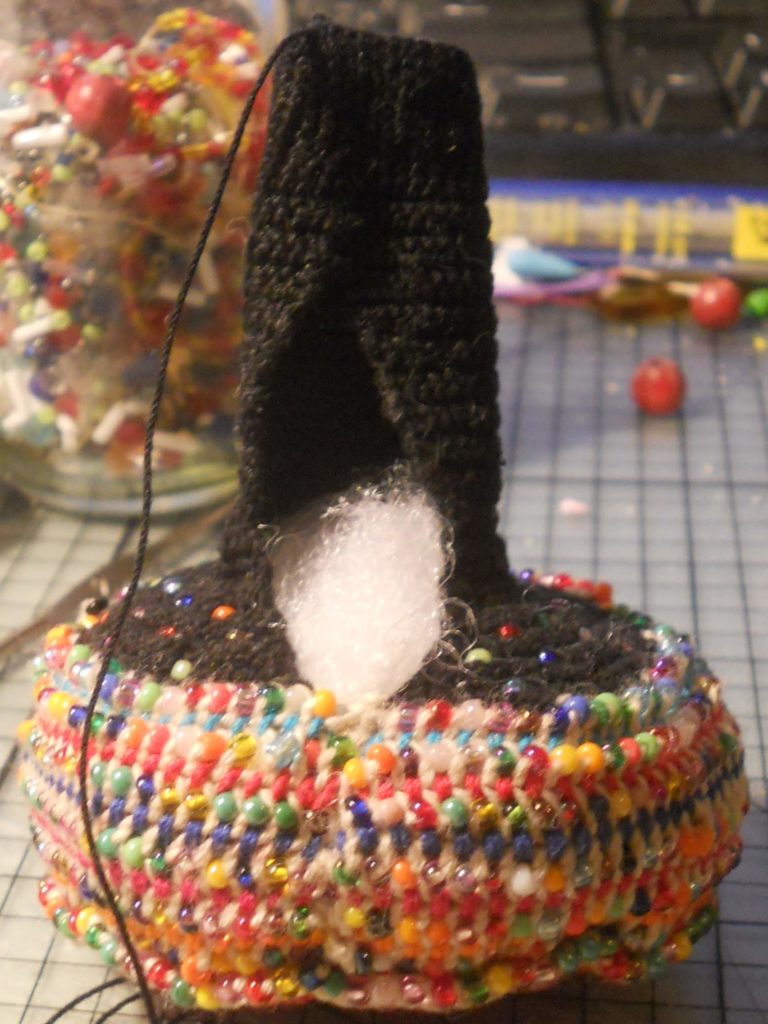
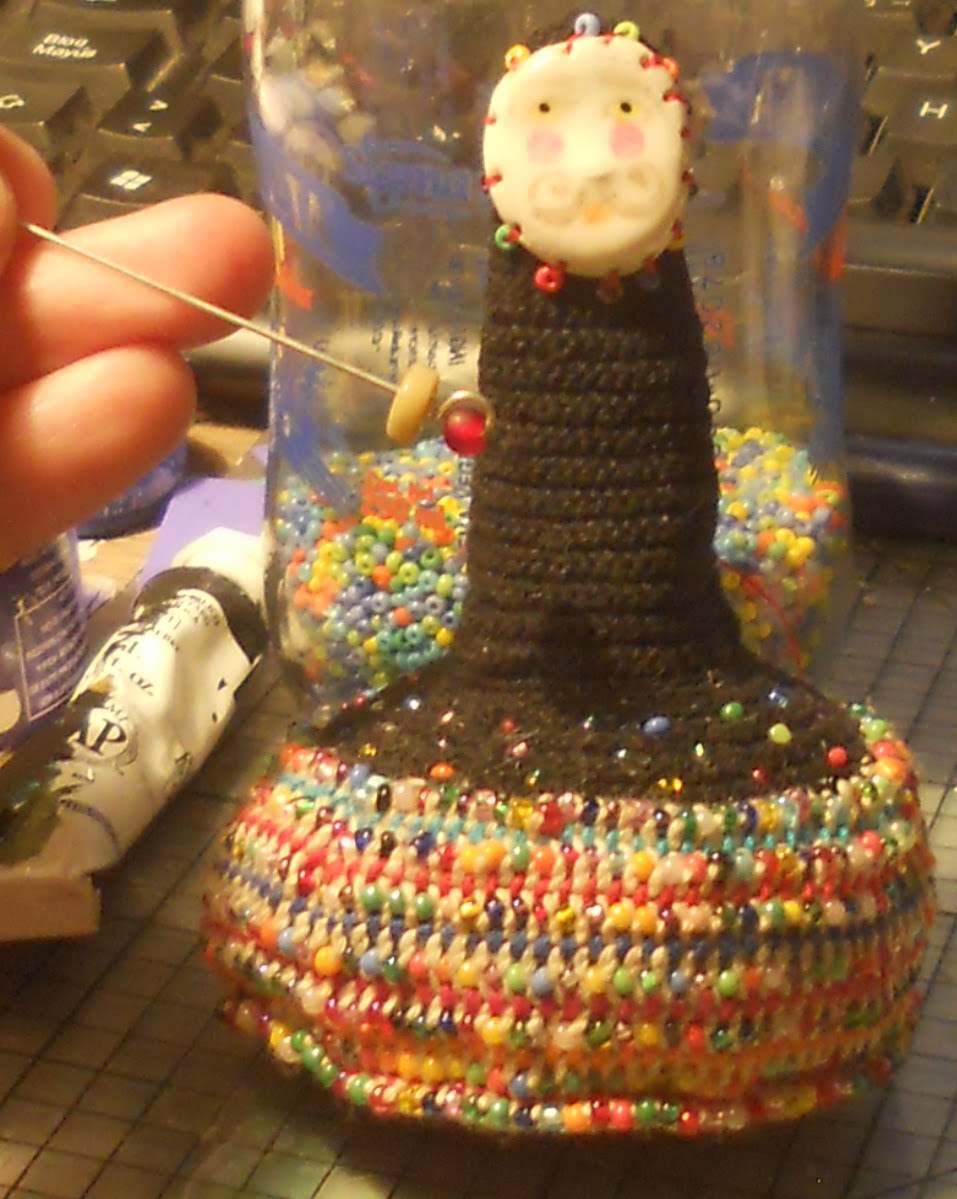
Now I’ll be picking up where I left last time, it was time to stuff the doll’s bottom part of the body and forever loose sight of the pretty seams inside it:
So I did…
Farewell pretty seams! I’ll think of you often :)
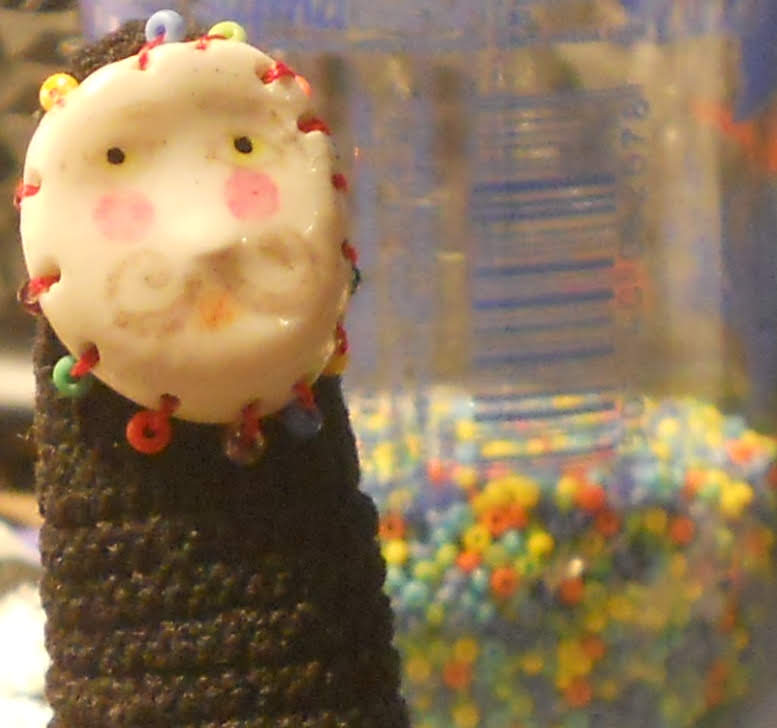
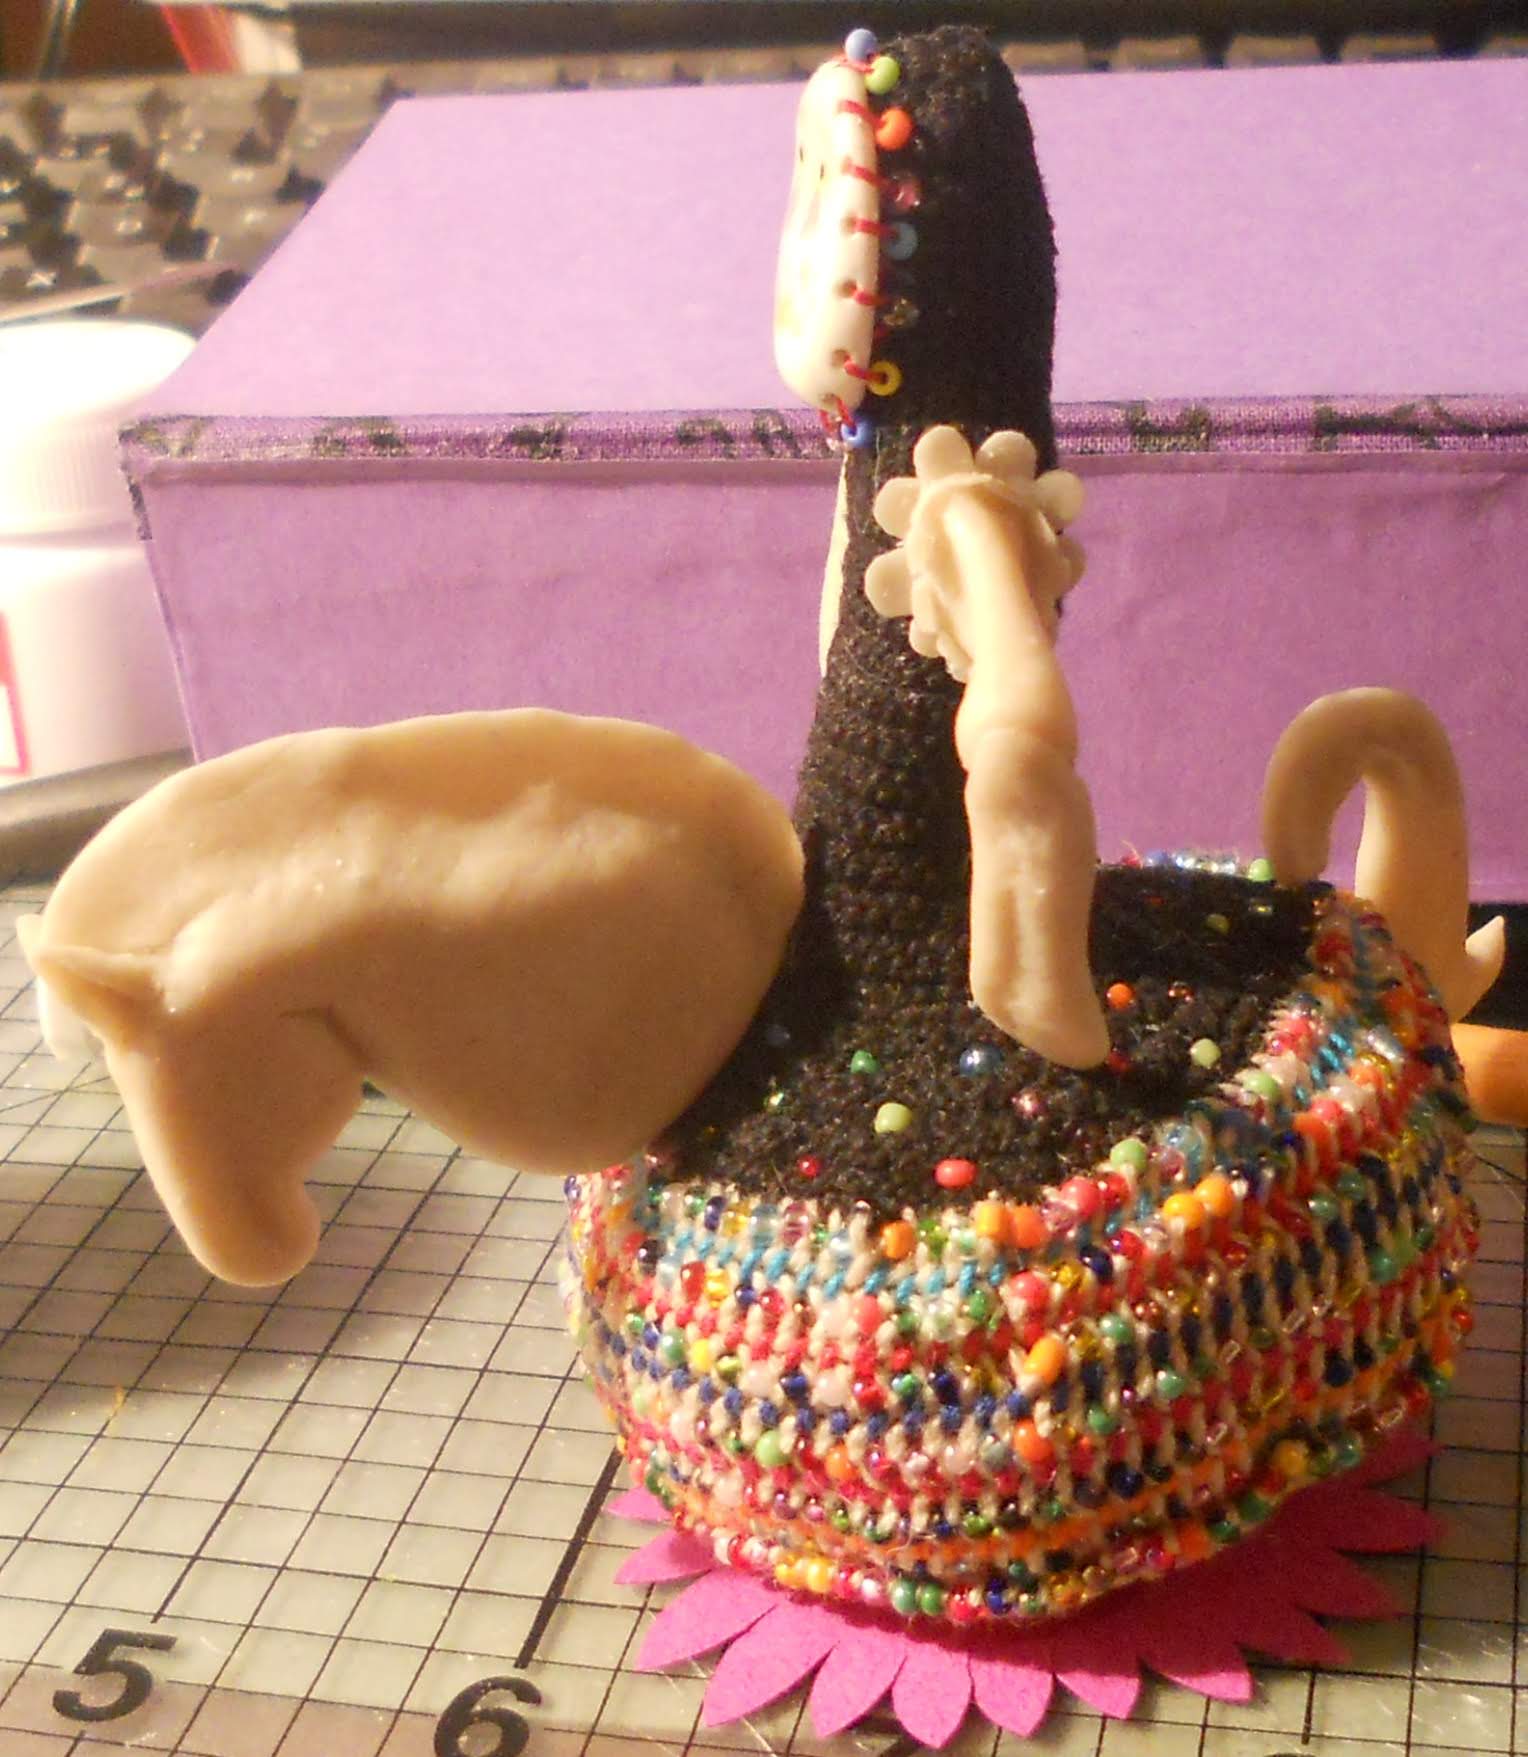
Then sew his face in place with some seed beads around it.
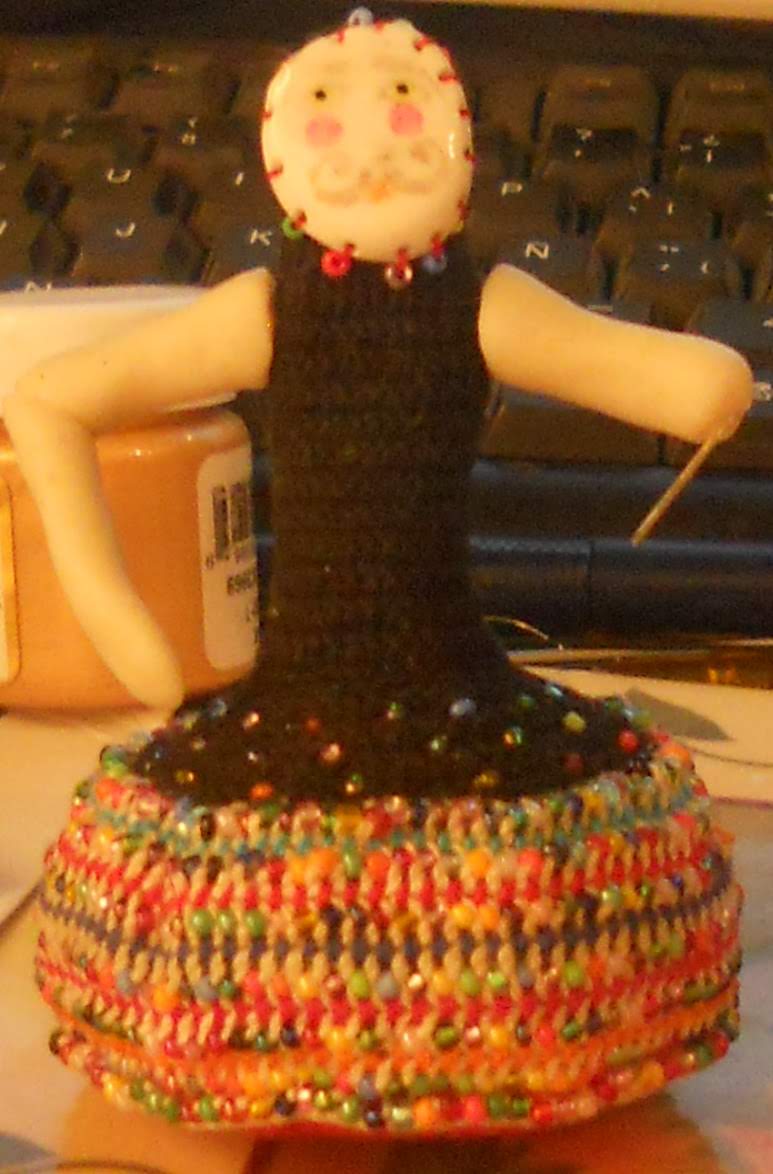
And started to figure out a way to make him some arms that could move around some.
I used a flat round cat’s eye for a washer and topped it with a large seed bead.
And started building his arms right on top of the wire, it goes a bit further than his elbow.
They aren’t joined so they can’t be bent at that point, they just swing around.
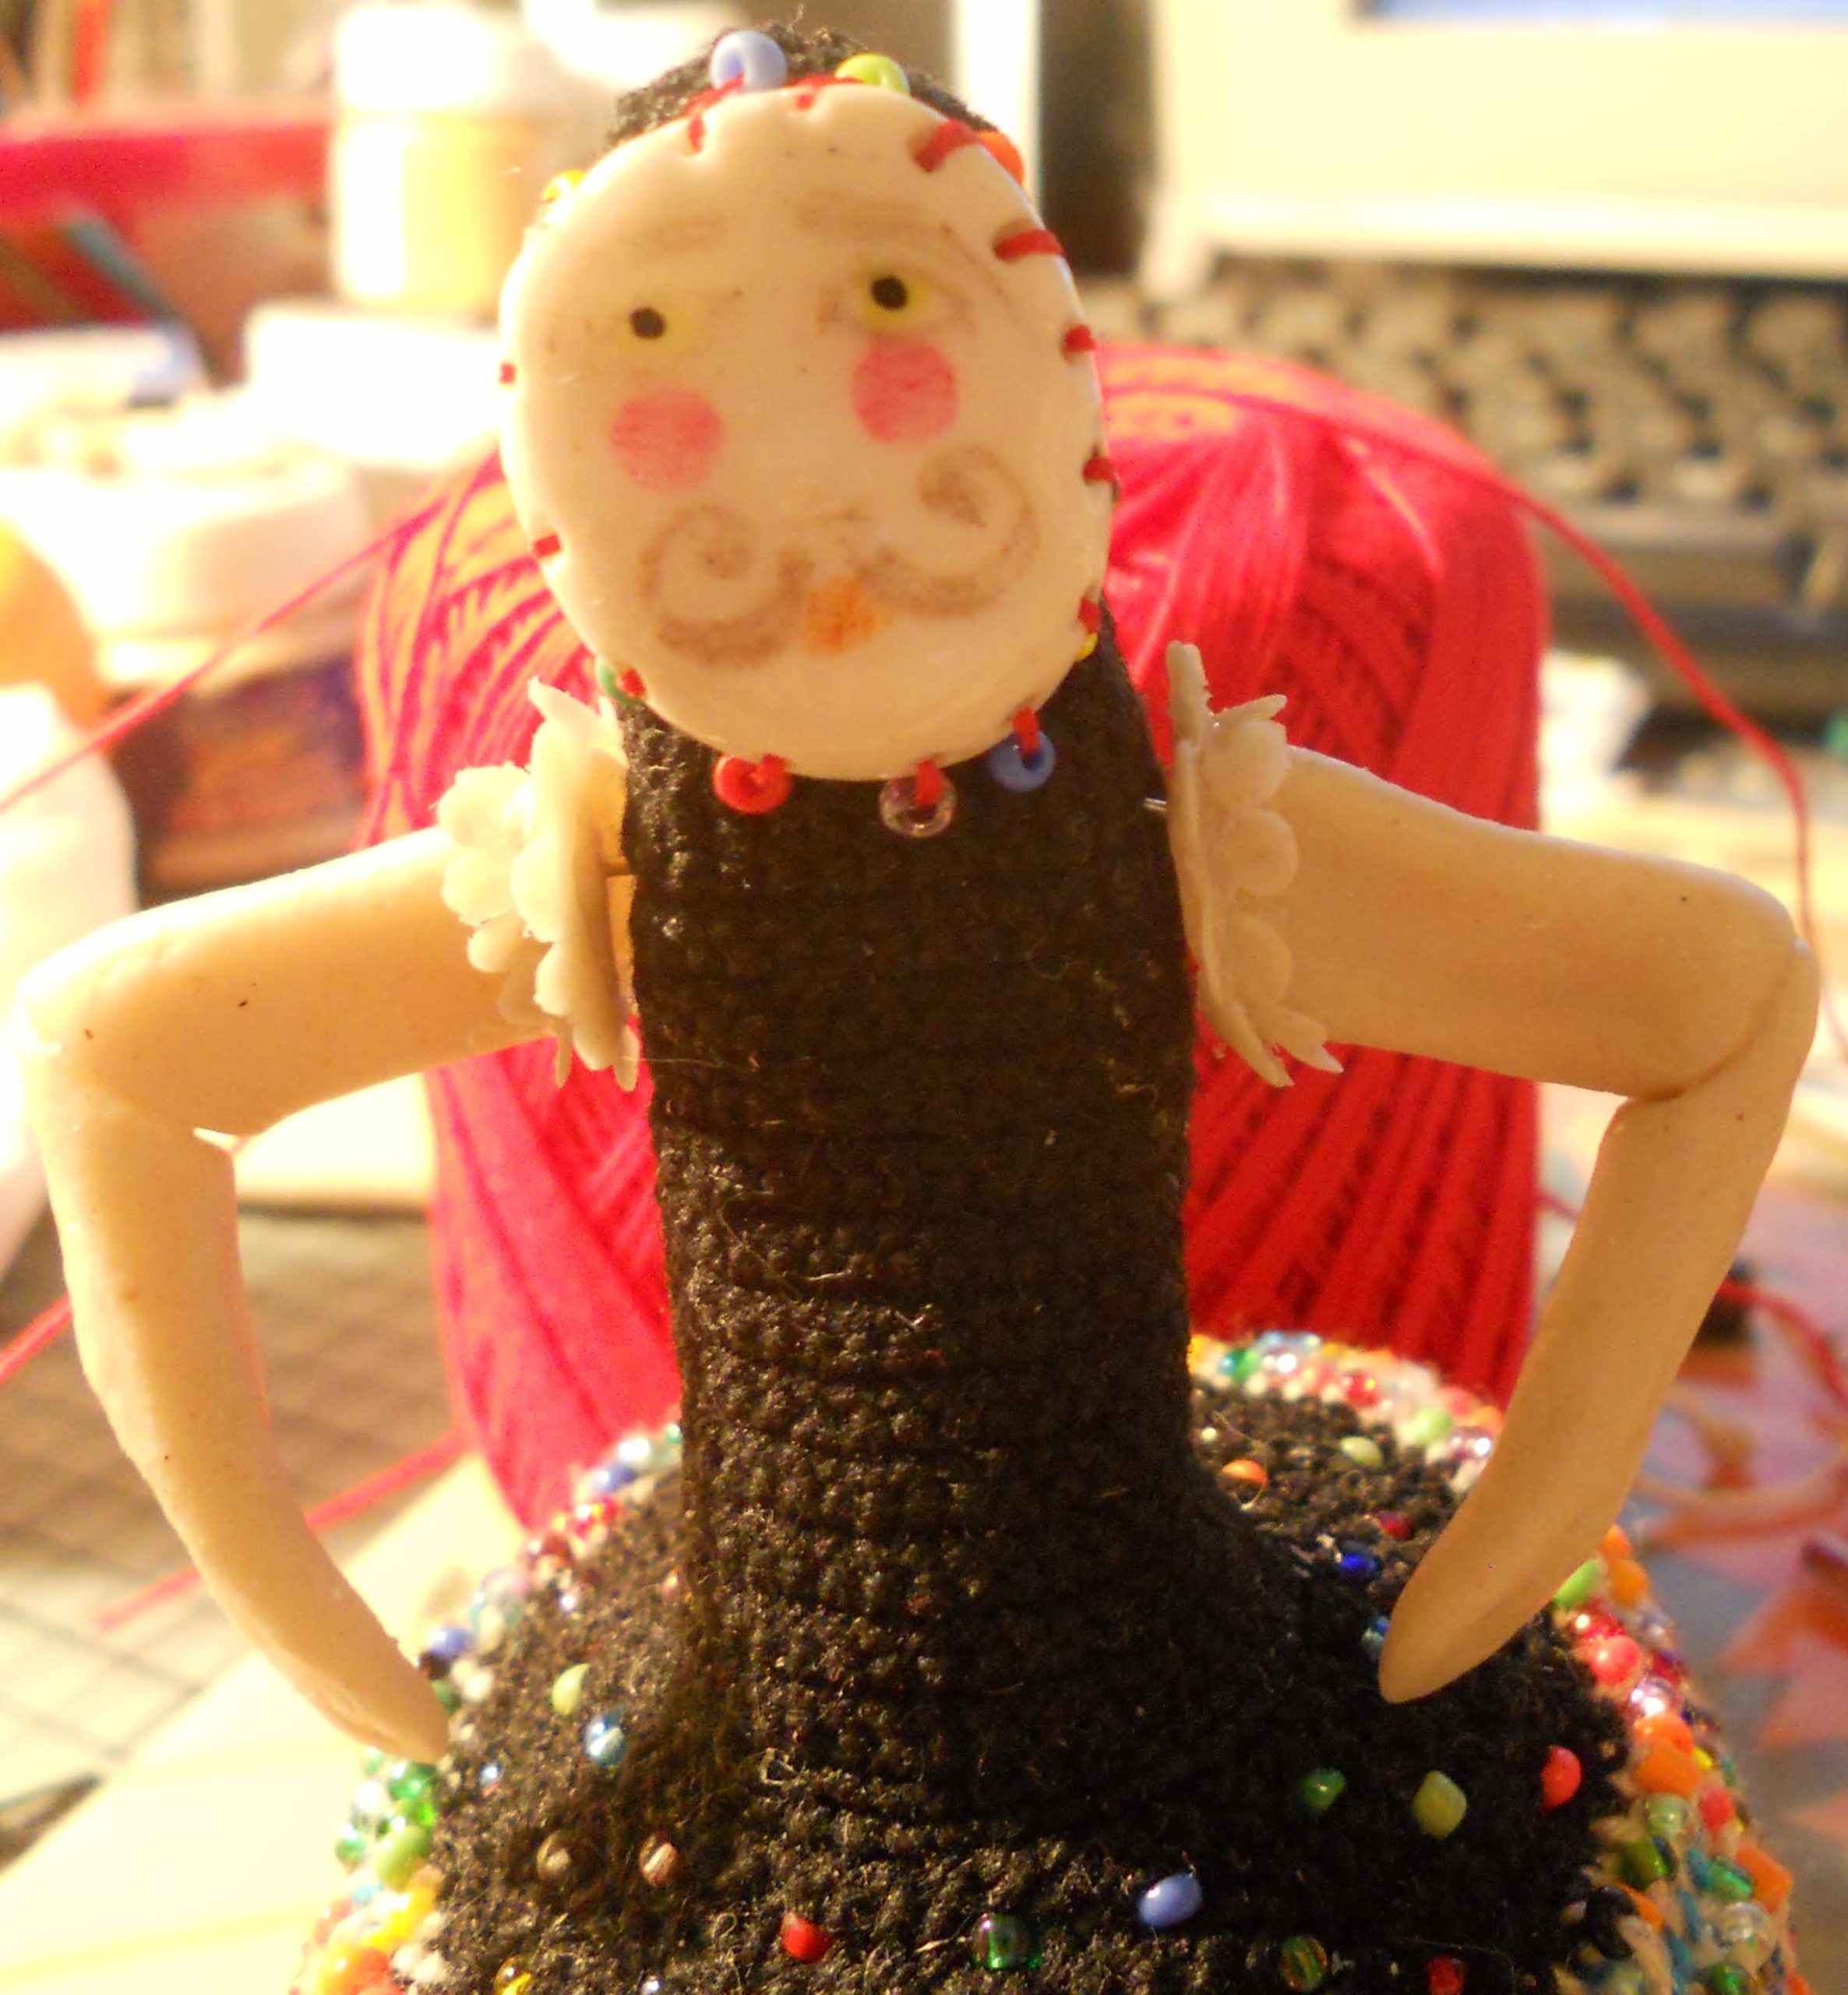
I made him some pretty scales to go around his entire arm just where it meets the shoulder.
And just then realized I had to remove the arms again to be able to coat them with polychrome! o.O
I also gave them a paper mache wrap, sanded them once dry and painted the top with acrylic and ink. The round face you see on this picture is his shield, I molded the face on a whim.
Then drew and coloured with colouring pencils.
I love the aged look they had, it reminded me of frescoes the way they are today, but they were much brighter when they were first painted.
I intended to make a red hood with beads for him, I haven’t figured out how to and have practically given up on that idea, that’s what the red shiny beaded thing is.
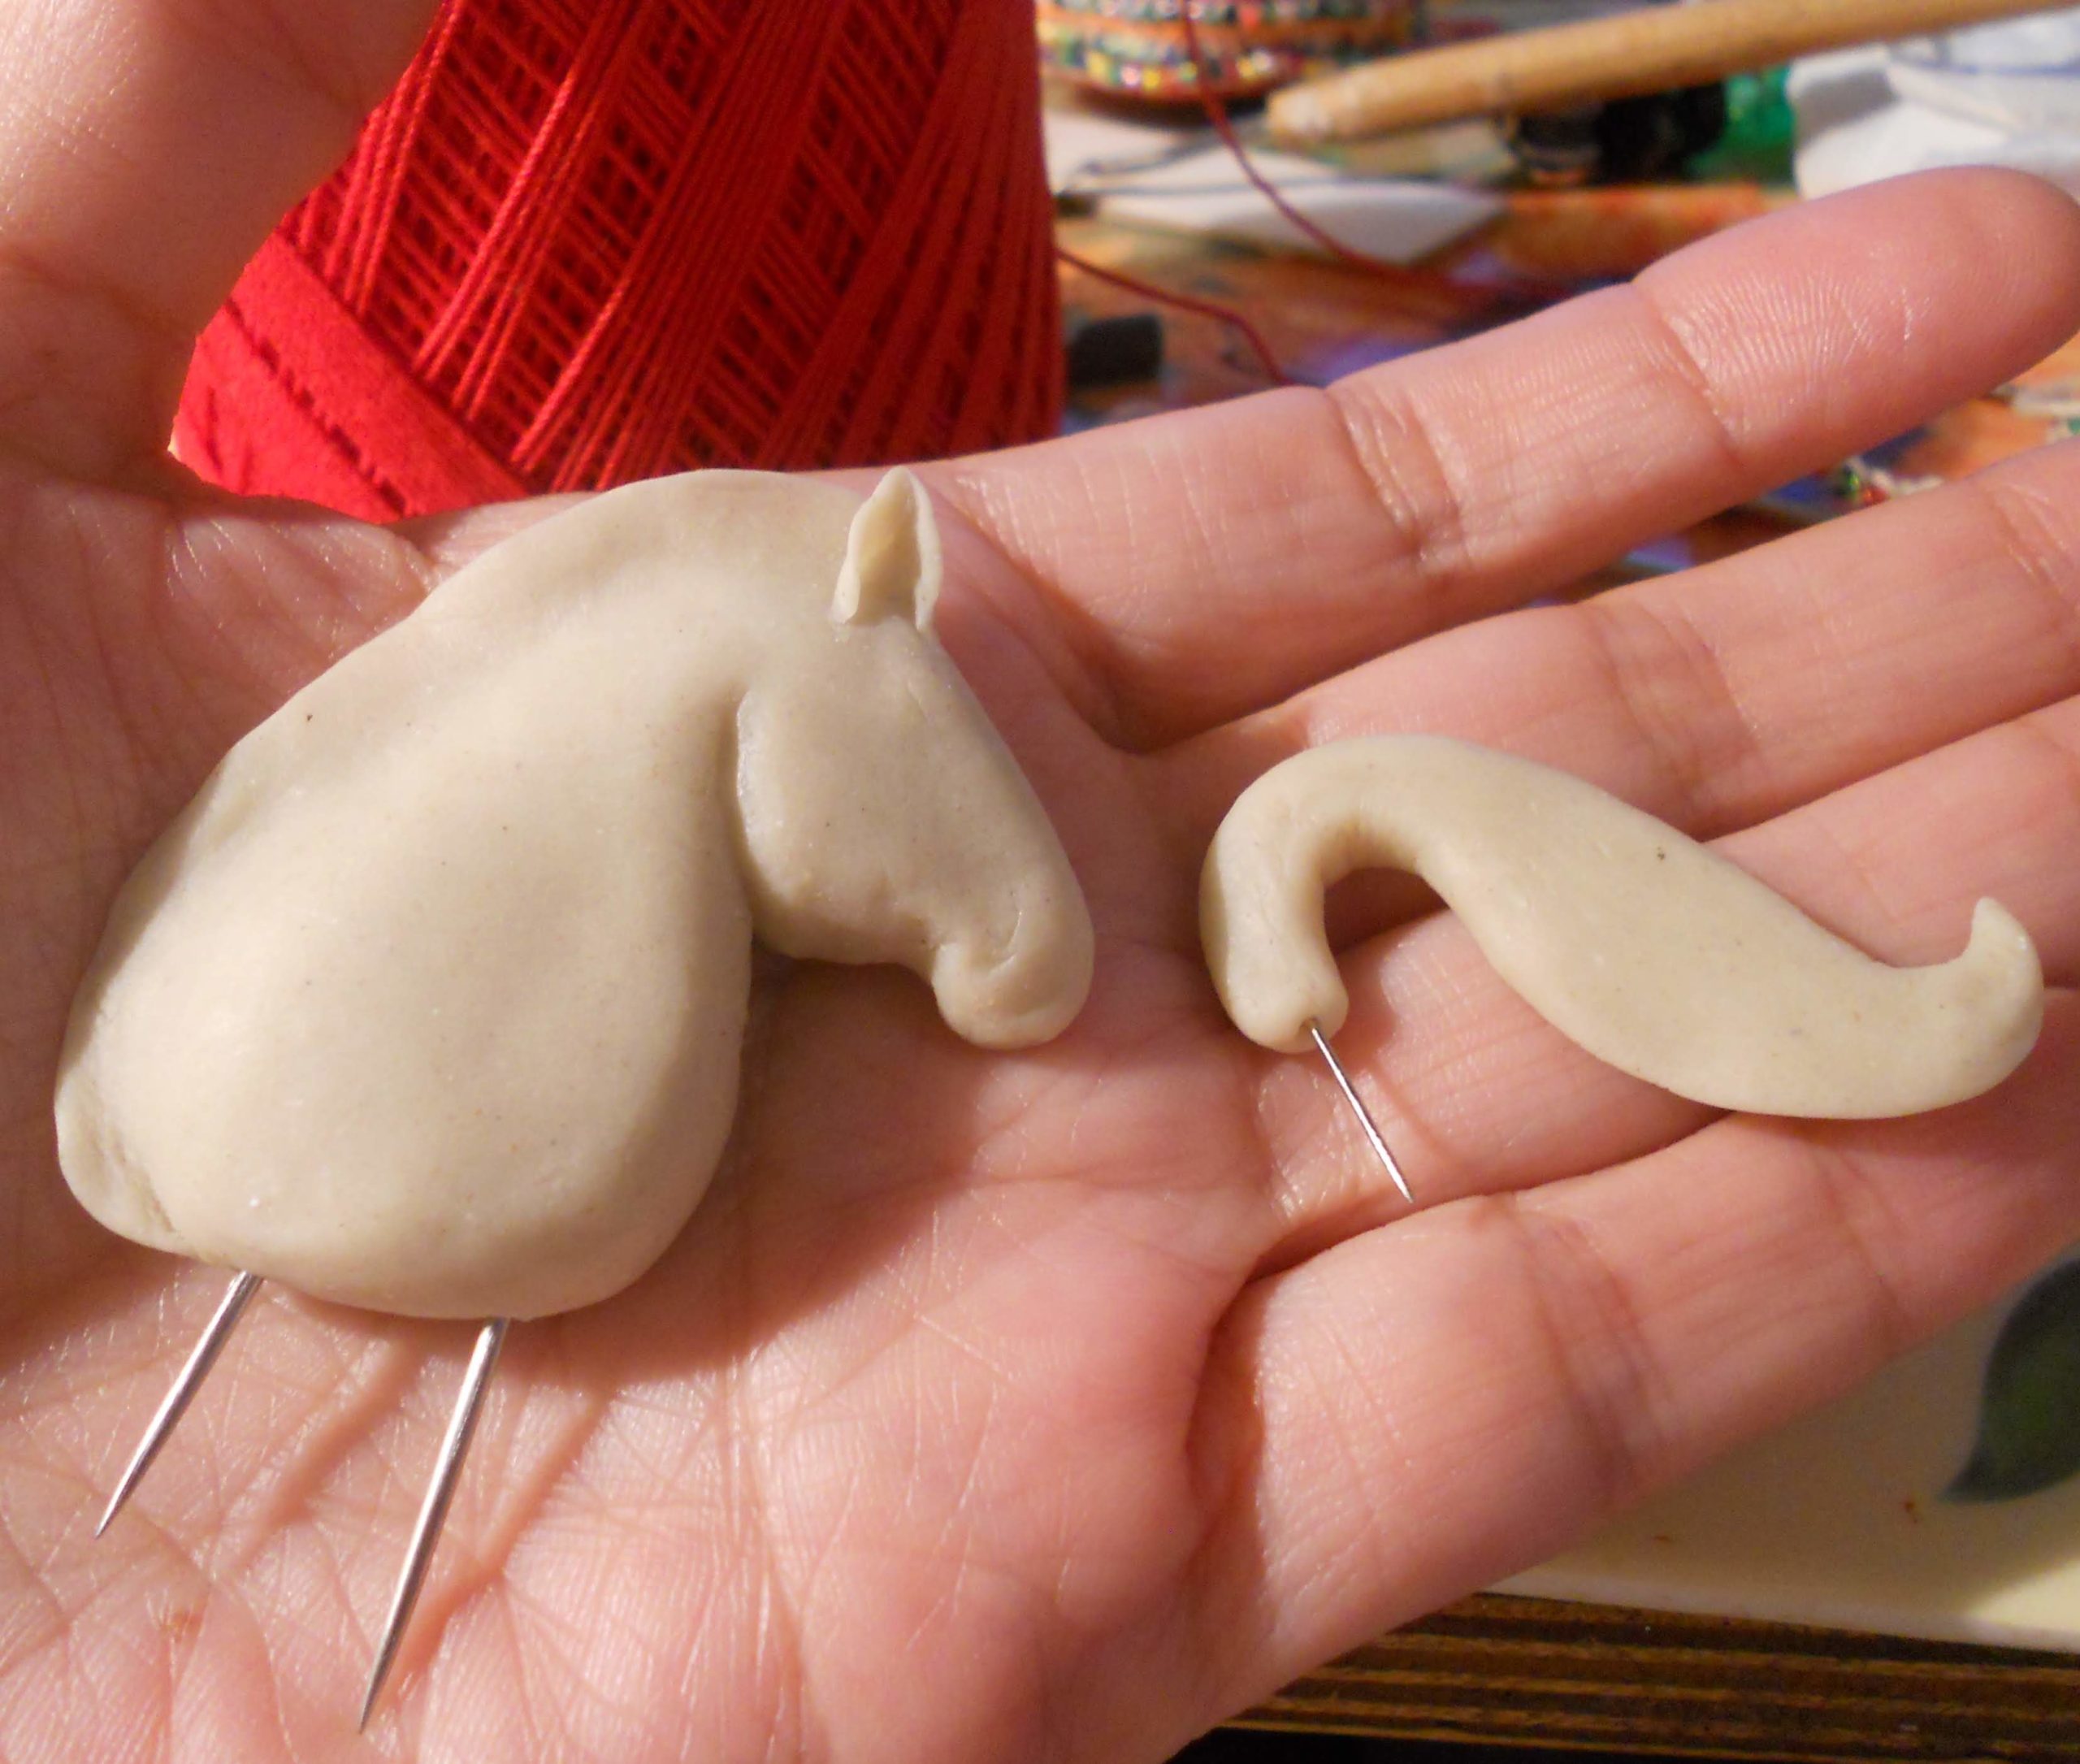
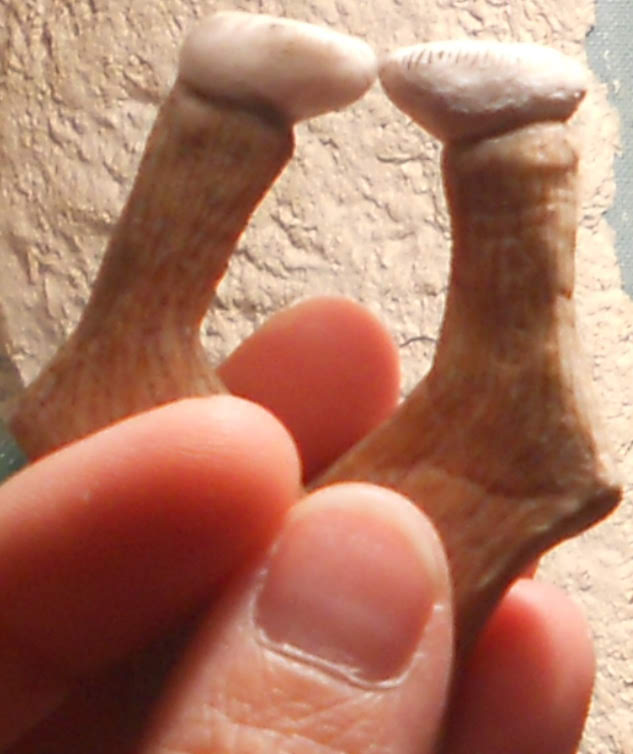
Then came the horse’s head and tail, look how chubby they were! They loose water and shrink when they dry up, which you can notice had happened to his arms on the next picture, that’s before the paper mache wrap:
I had to see what he’d look like with the horse on!
The horse’s head and tail have very sharp pointy needles coming out of them.
At this point he wanted to stand up, so I started working on a stand for him, I had a piece of wood and thick wire, silver plated German-silver gauge 20 or 18. I wondered if it would be stiff enough so I covered it with papier mache but then came across my even stiffer and thicker canevá needles so I went for them instead.
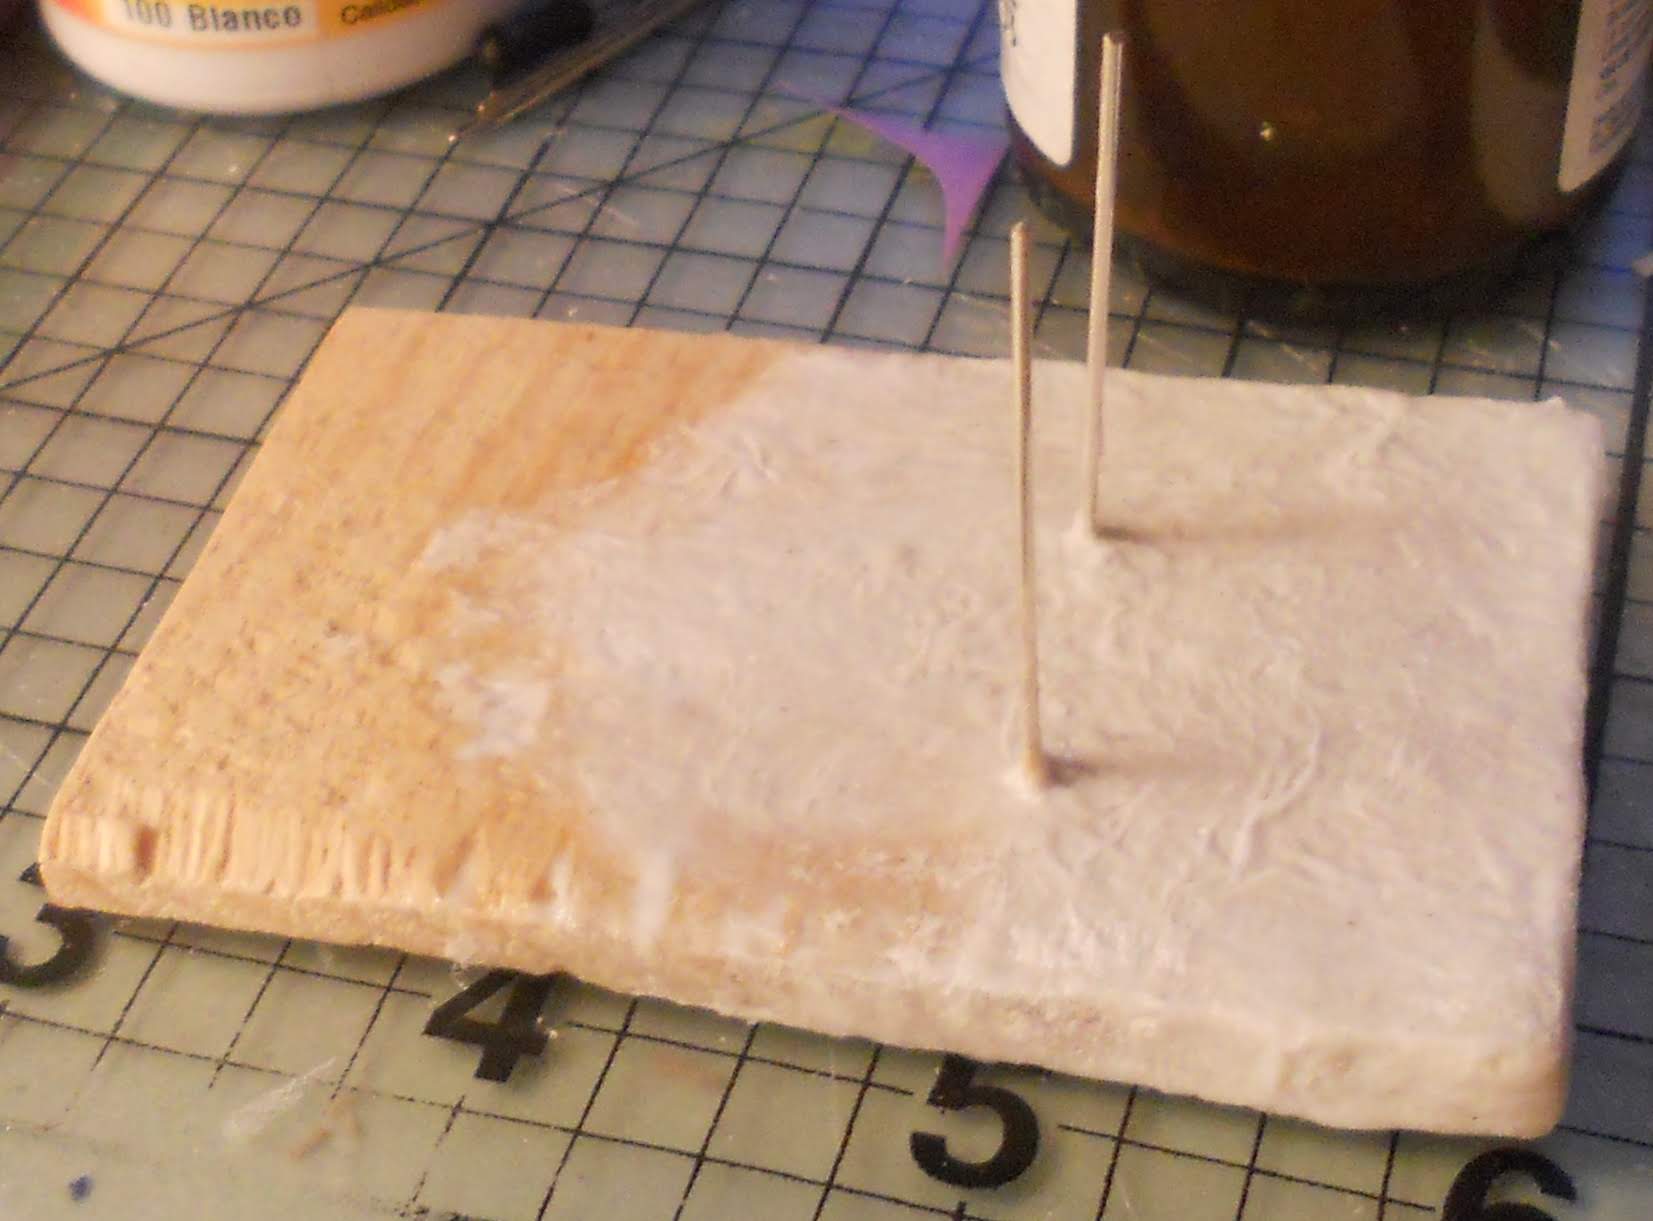
I thought about bending the eye to keep if from slipping off the base but was afraid to brake them because they are not pliable, so instead I left them as they are but to prevent them from sliding out I hammered some thin wire (24 gauge) and put some across both eyes and some inside each eye to stop them in place.
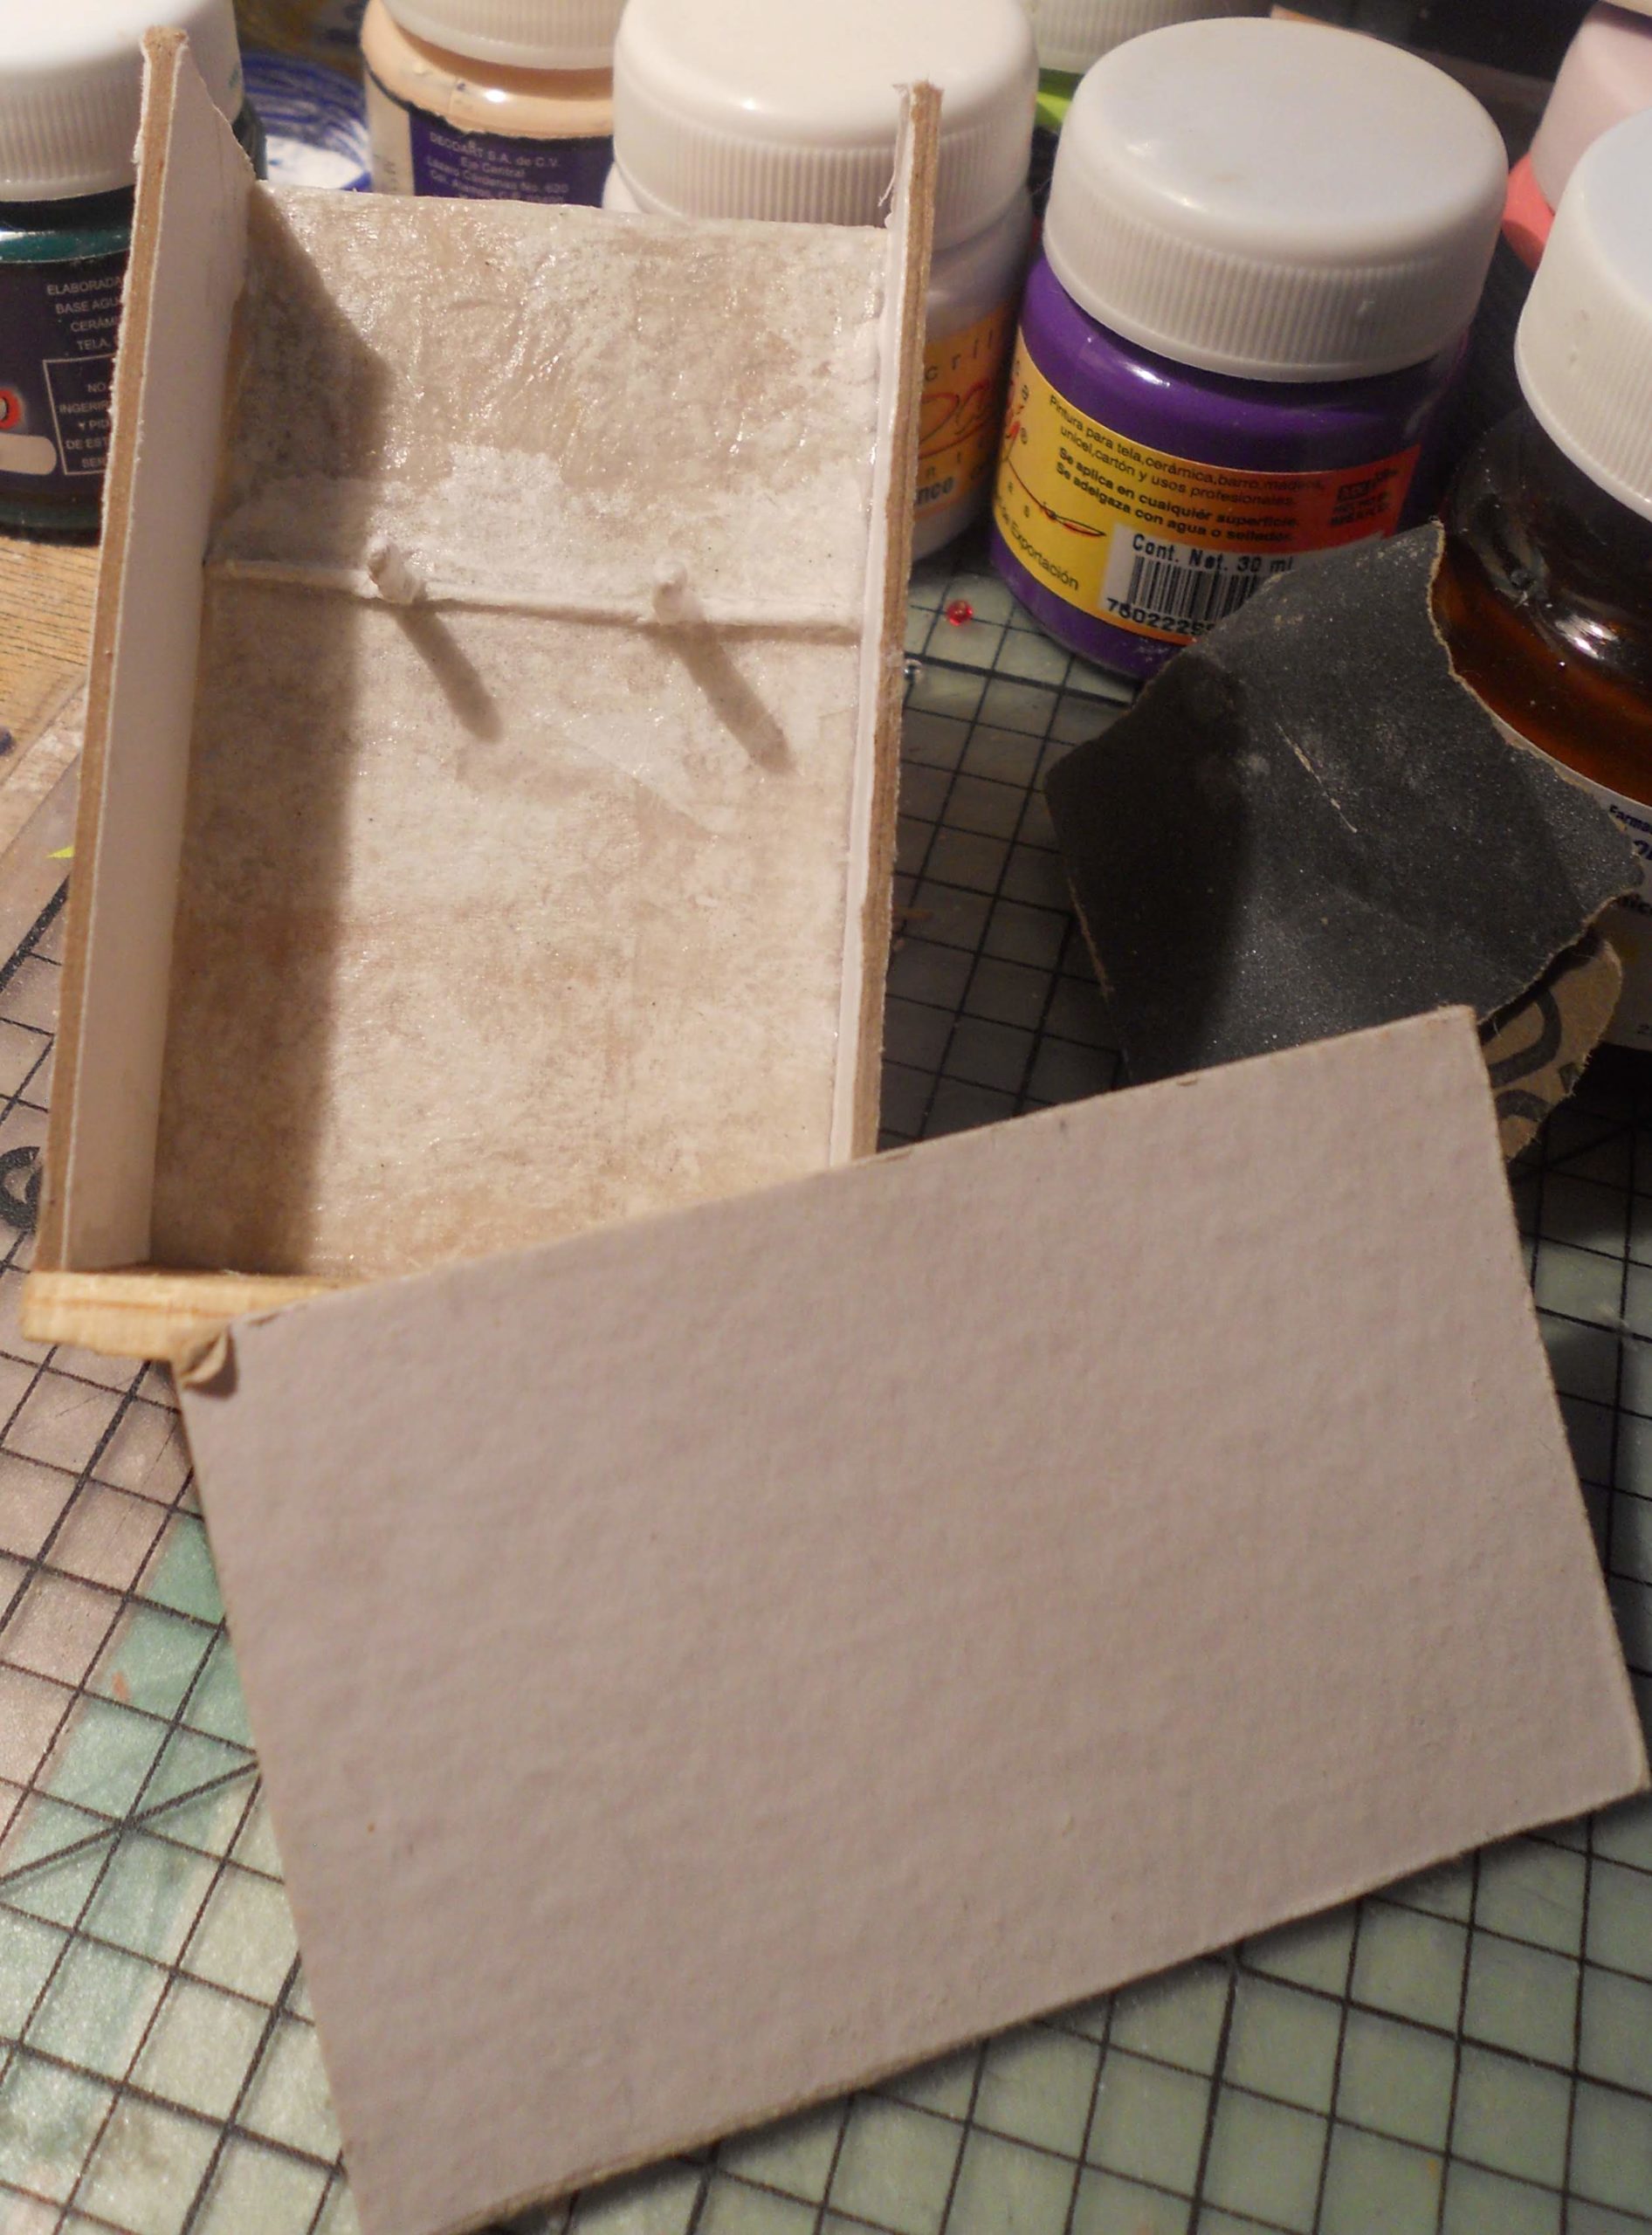
And started working on a storage box at the bottom of the base, which in this case became the base as a whole.
Here you can see that I covered it with more paper mache.
The base and one side are made with wood.
The long sides, one short side and the door are made from the stiff cardboard architects use to build miniature house models.
I attached the door with a thick cotton fabric -that some local artists use to make their canvas for painting- called “manta”
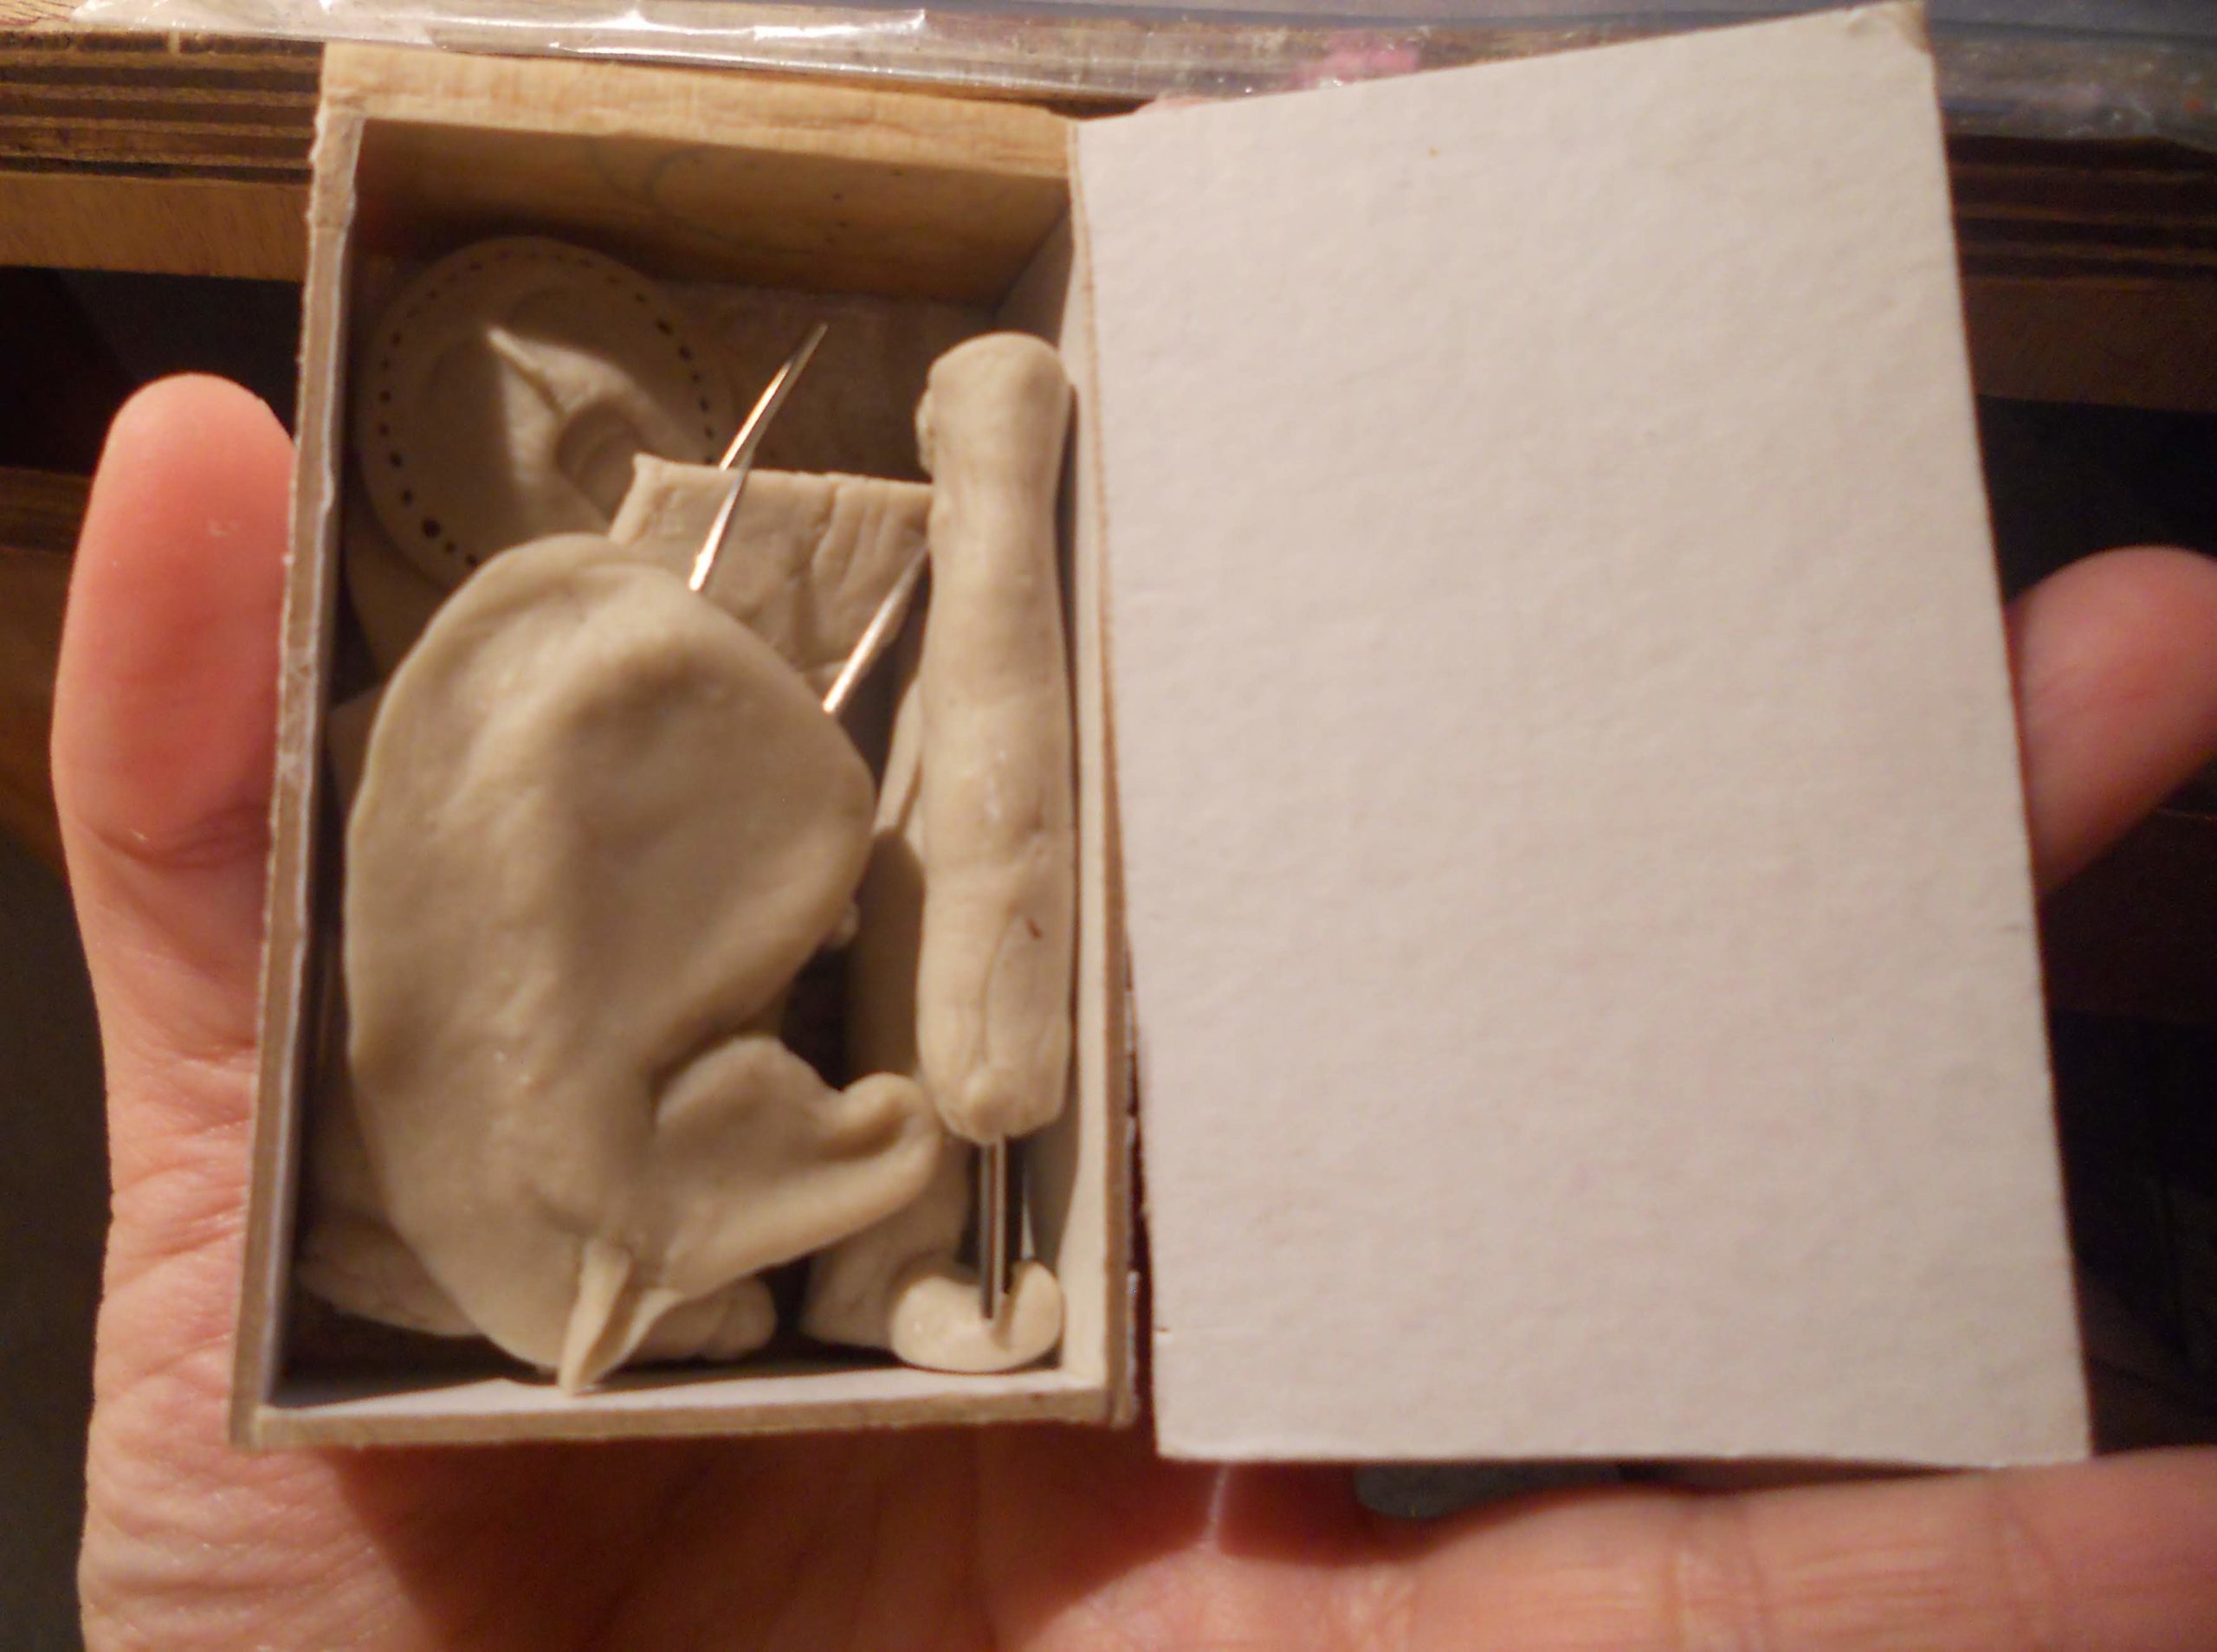
Here I was wondering how much room I still had left to add more items to it. I would think at least one pair of legs would be on him at all times.
Now, I noticed the shield, that has a face on it, could double as a mask, and it looked so much like a Robin Goodfellow, so I made him a set of satyr paraphernalia.
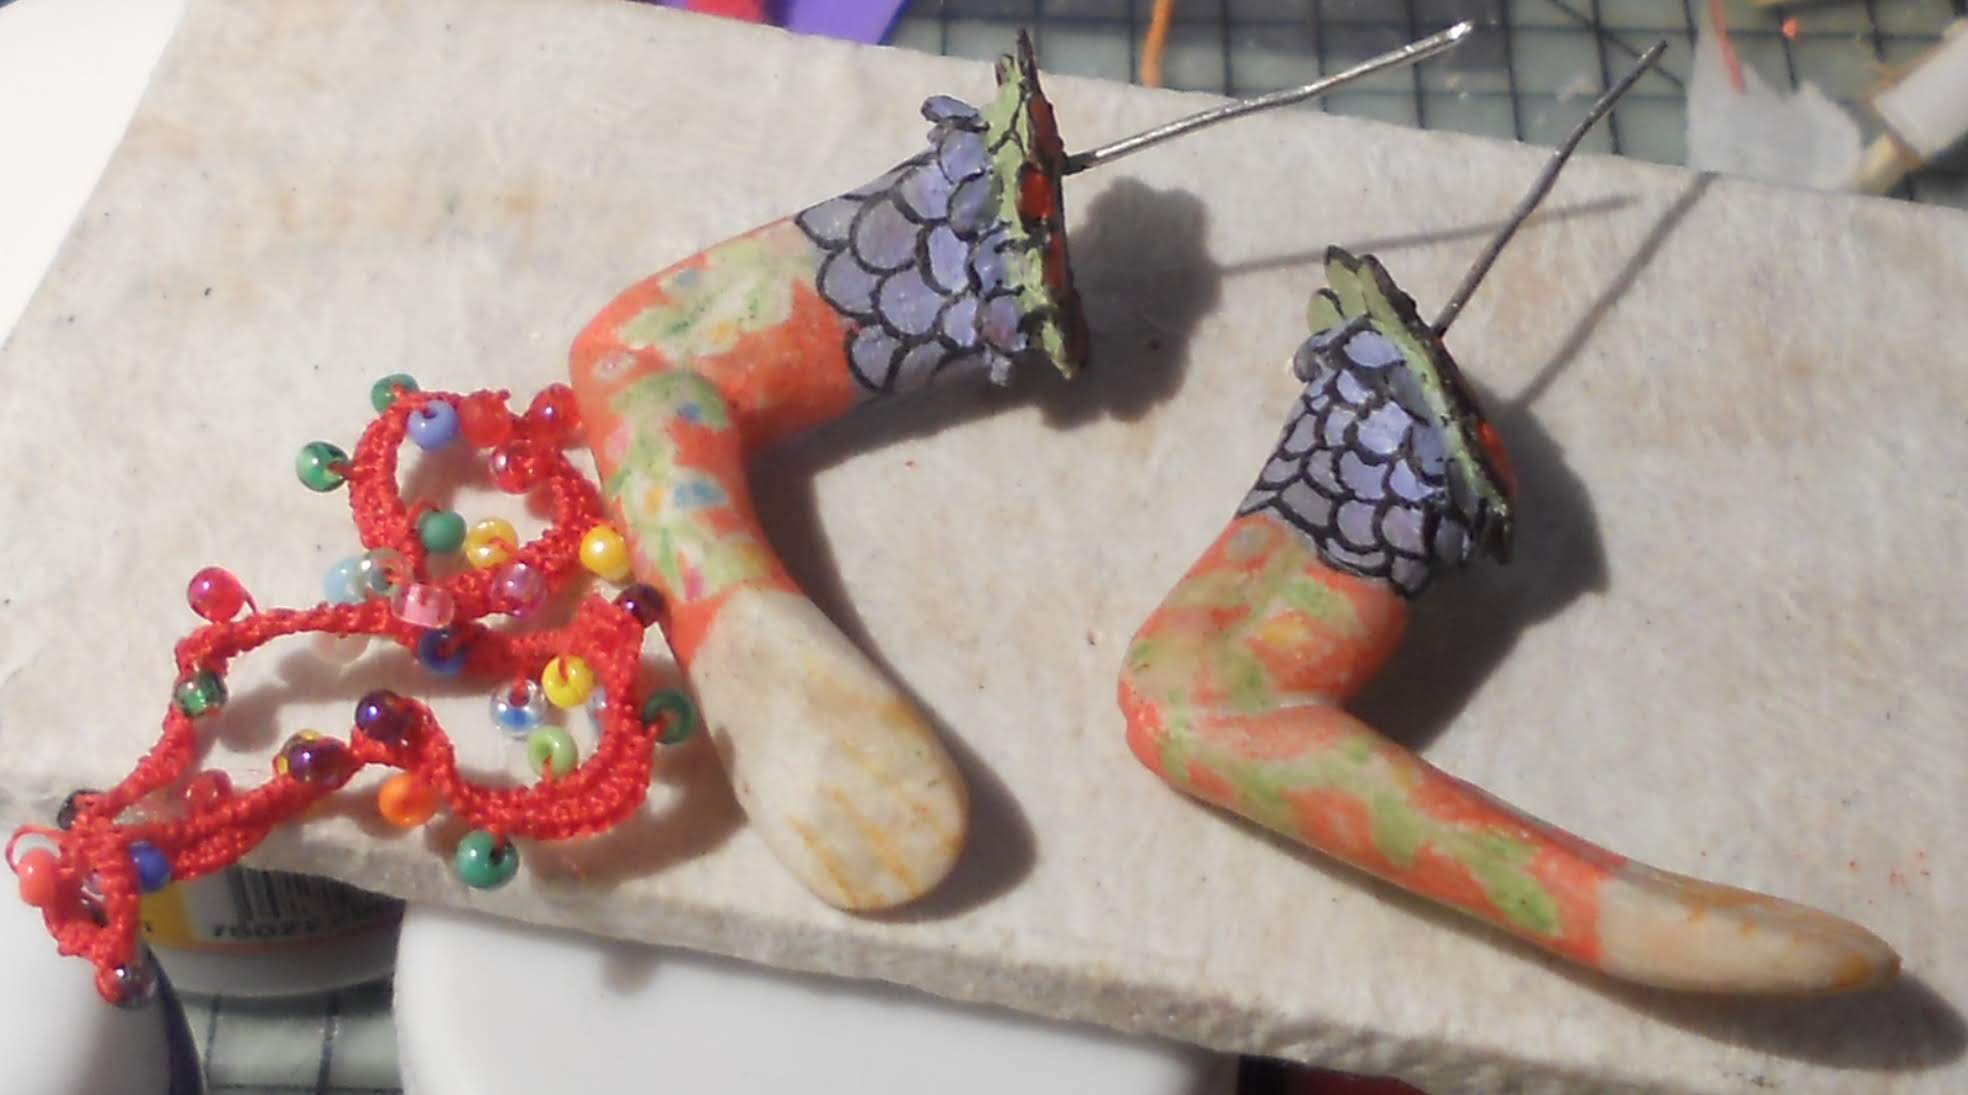
These are his human knightly legs with the first drawings I had made on him, I later on thought they would look better if they matched the arms and used acrylic instead of colouring pencils.
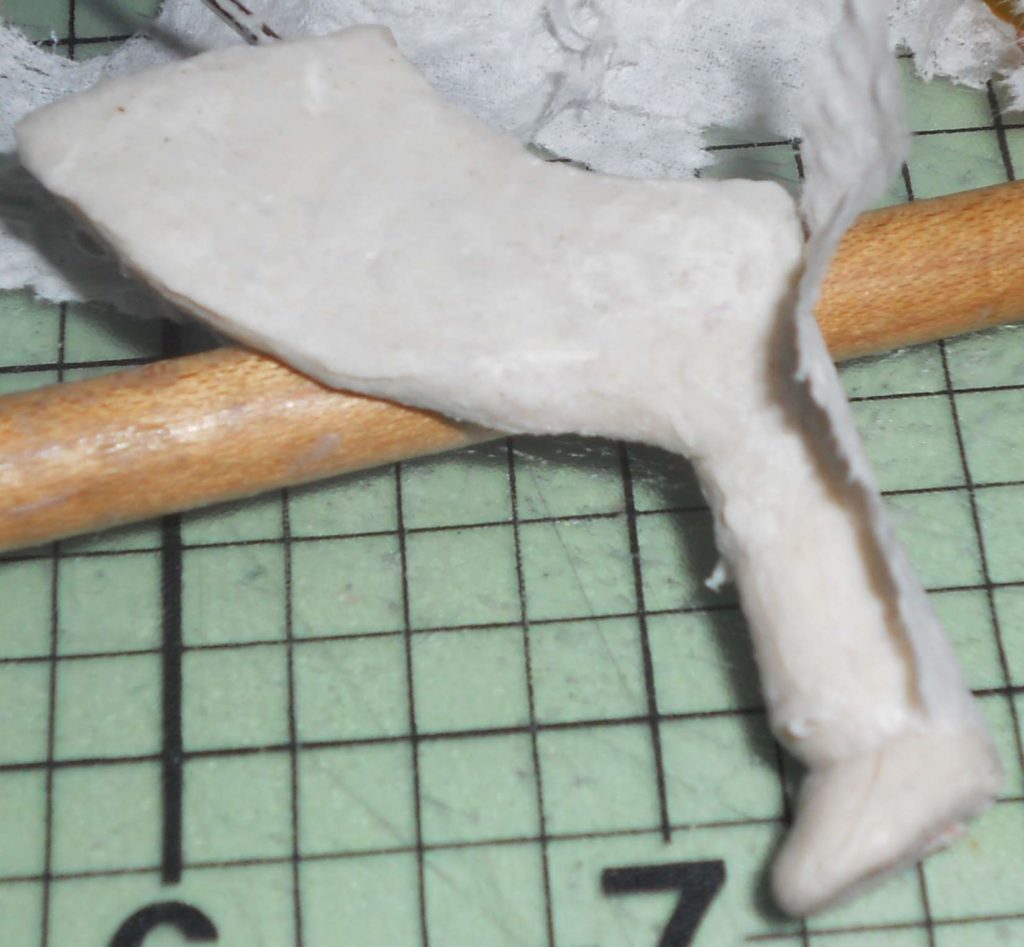
I hand molded the horse’s hinds with cold porcelain and wrapped them in paper.
I don’t use any sort of patterns.
I covered the horse’s hooves with wax to give them a translucent feel and look that I remember having seen on real horse’s hooves.
I was reminded of an art project I had in kindergarten. we used lit candles to melt wax crayons and paint a cow, I loved the thick, glossy, smooth finish!
Coloured them with pencils and added some details with ink and acrylics, like a row of short dark hair strands on the horse mane’s edge.
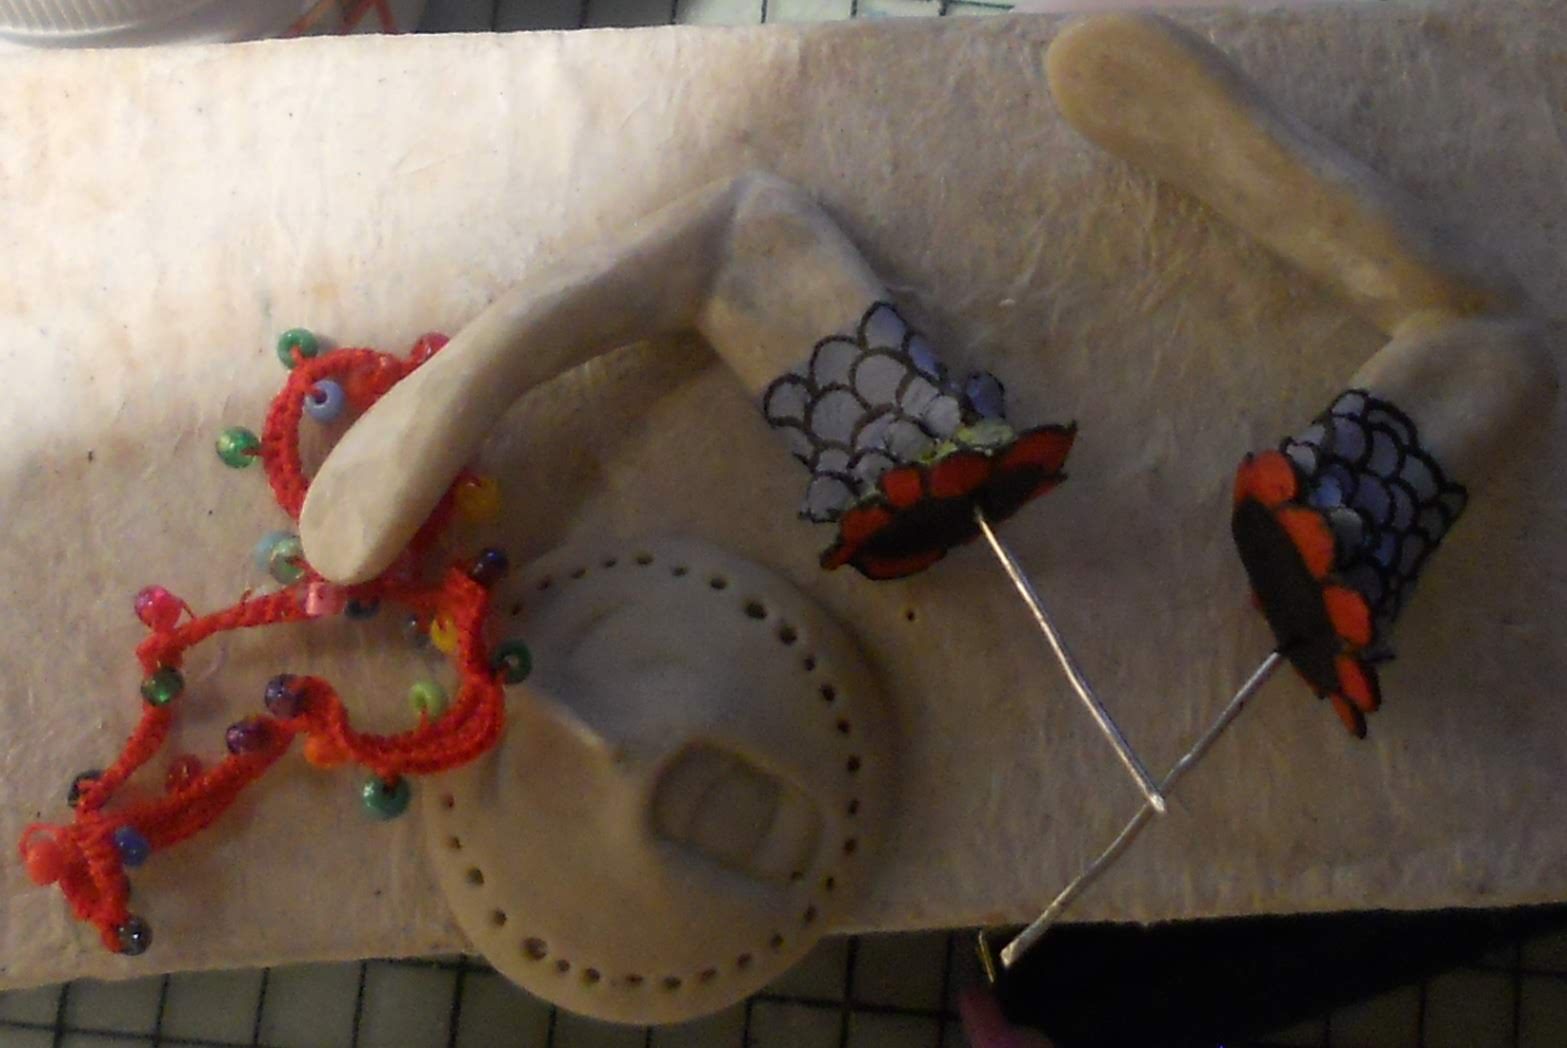
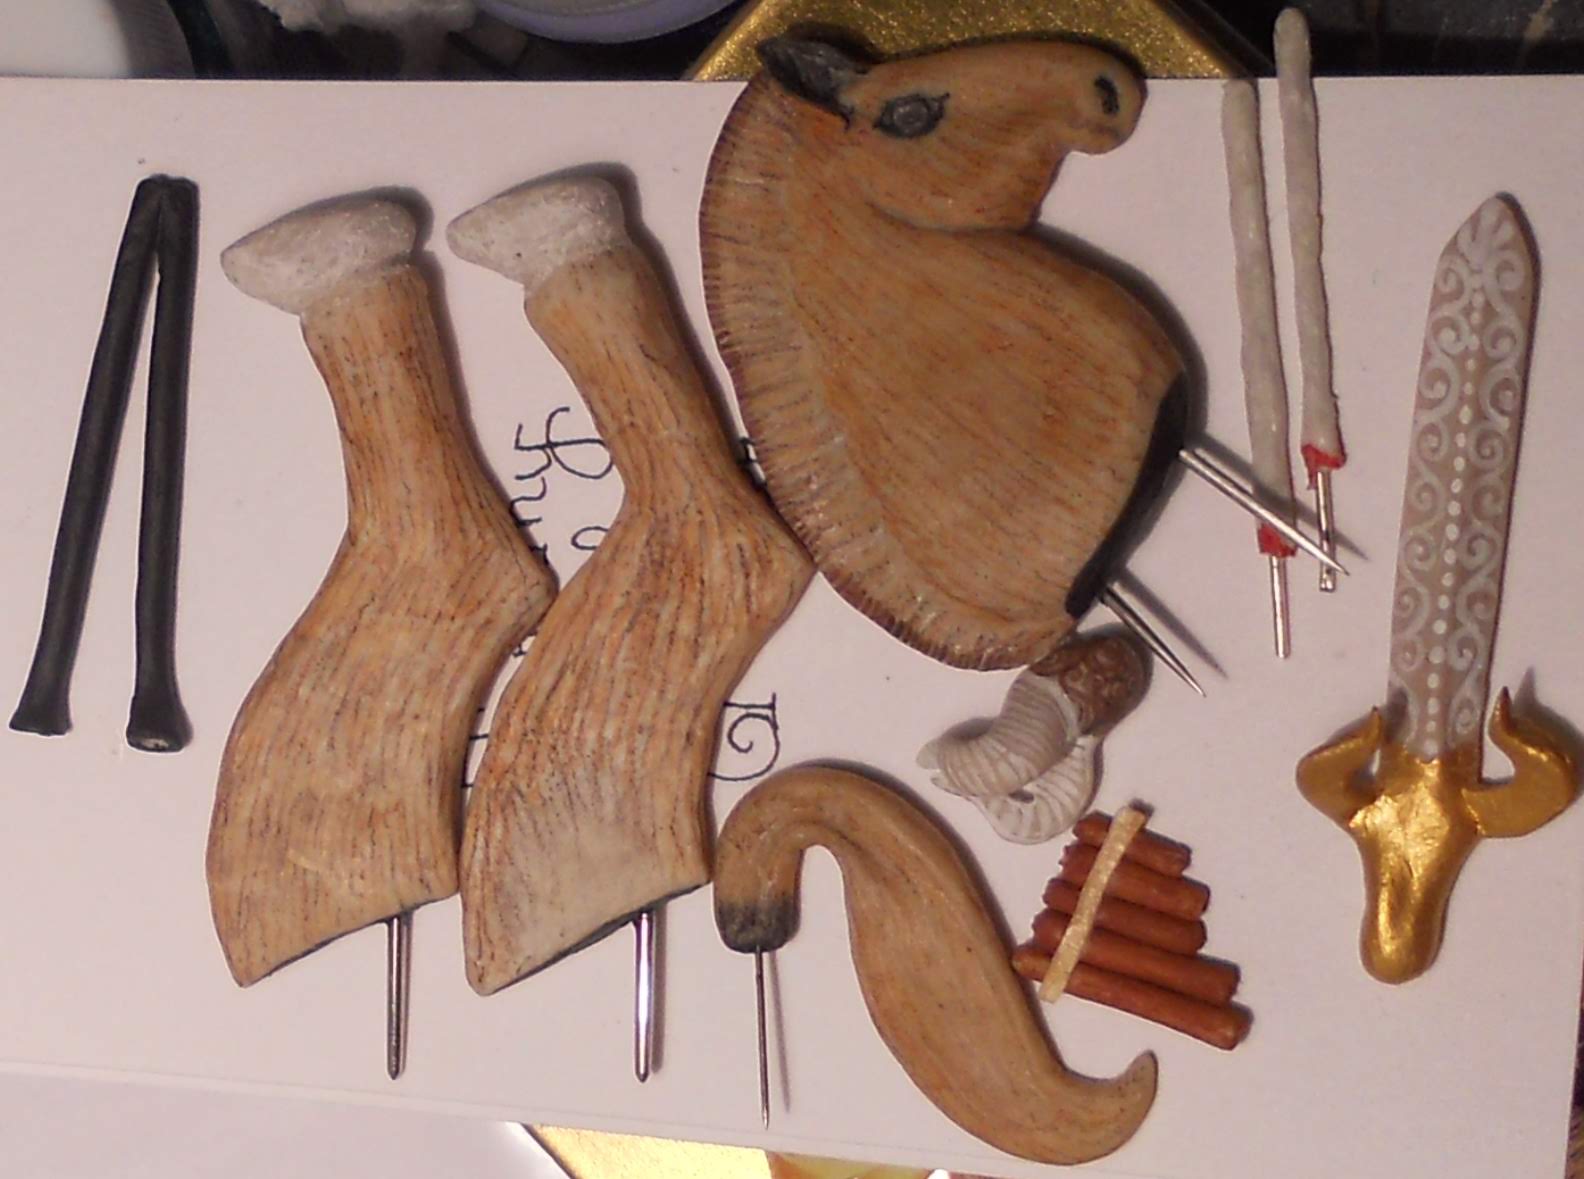
On this picture you can see the removed wires I used on the first base attempt and other items like a double flute, a pan flute, a sword and some goat horns.
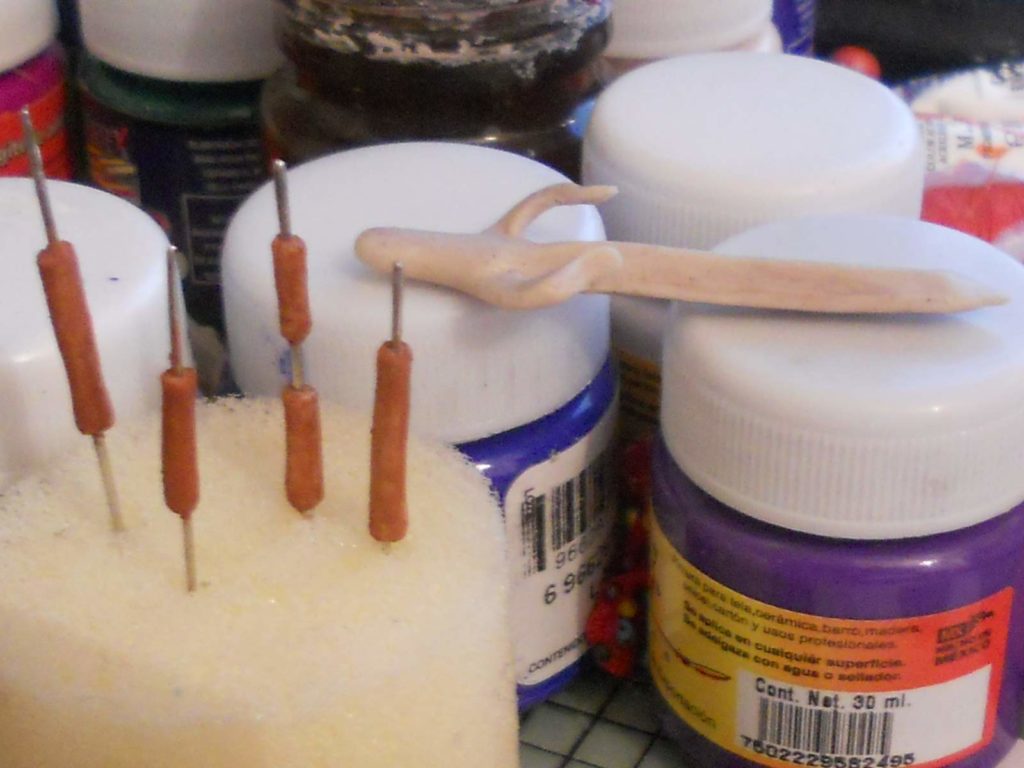
And here you can see the Pan flute set out to dry and the sword behind it. The Pan flute is hollow, but I coated it with polychrome to protect the paint.
However I still hope to be able to see light shining through them.
These are the Imp’s items that he requested, I couldn’t make up my mind between a Pan flute or a double flute since they’re both so pretty, so I made him one of each!
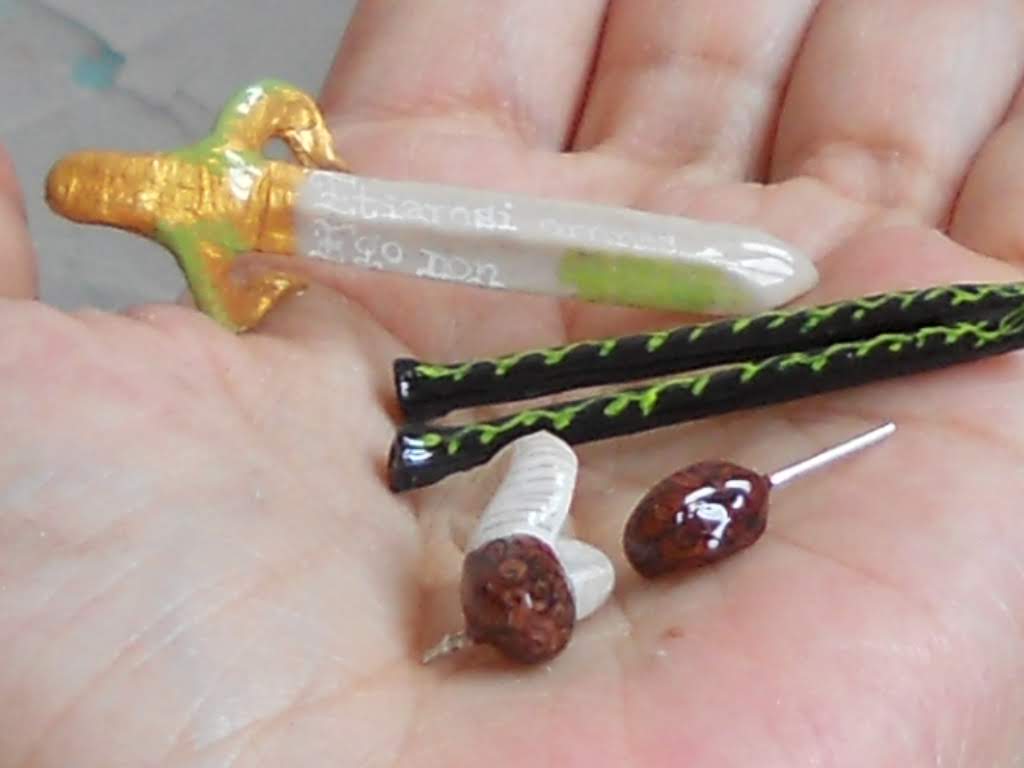
Here are some of them painted and coated with polychrome, the sword reads “Etiamsi omnes Ego non”
Even though others (do it) I don’t.
At the top are the goat horns and tail and under the sword a top view of the double flute.
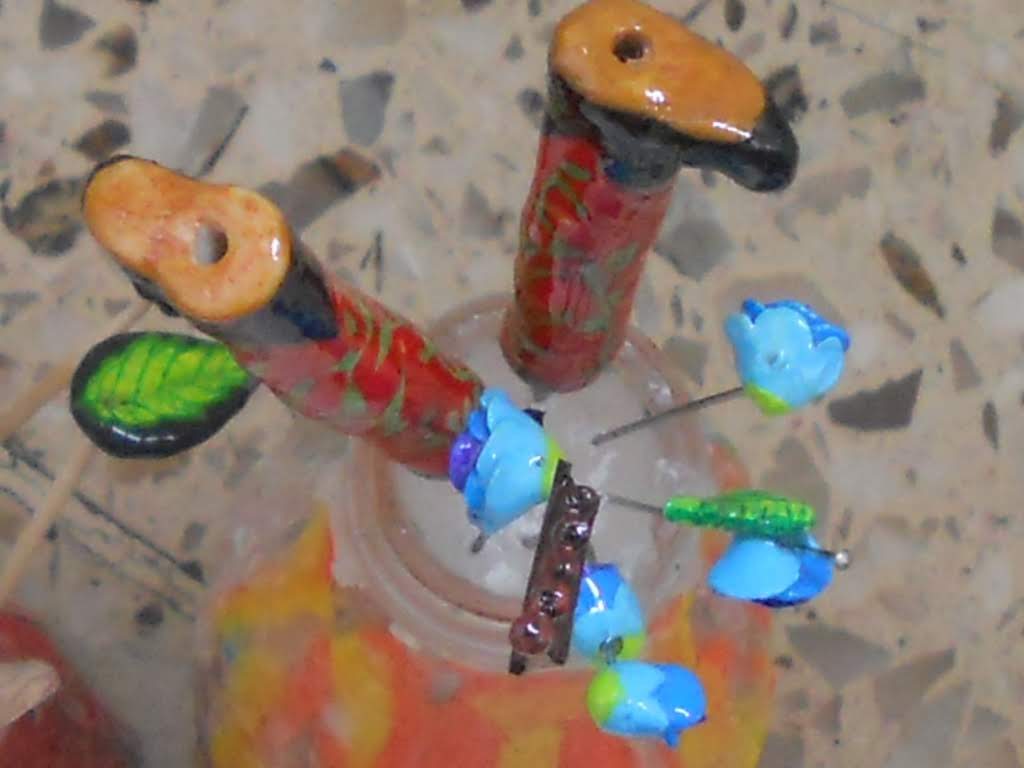
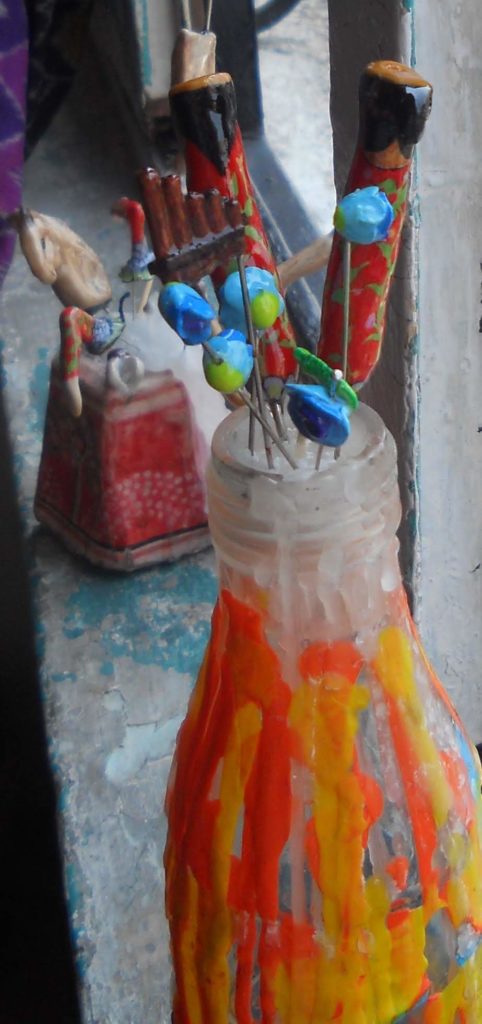
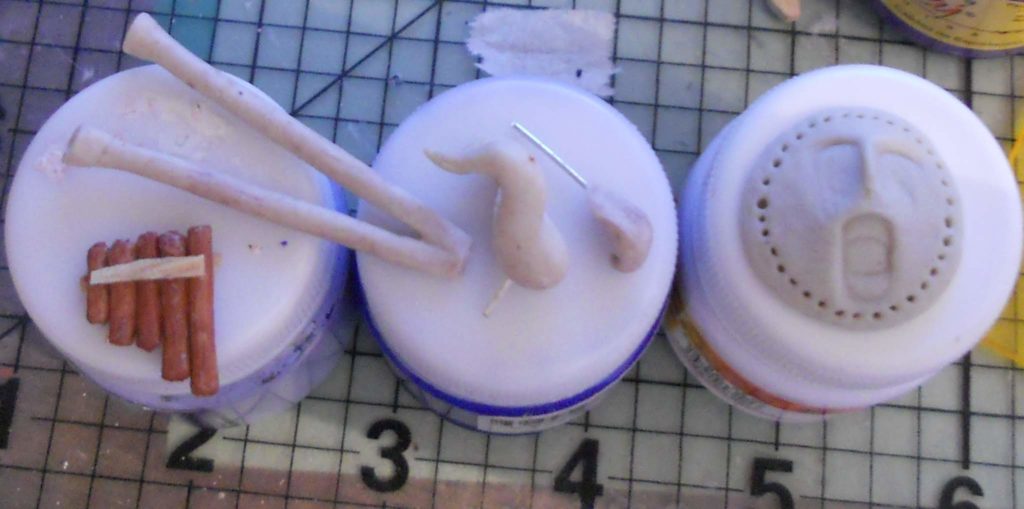
This is a view of the items while waiting for the polychrome coat to dry. They made some strange beautiful arrangement specially because I had also set some flower and leaves bead to dry out with them, those are for a necklace.
And at last, but not least, one last view of Monsieur Le Guapó:
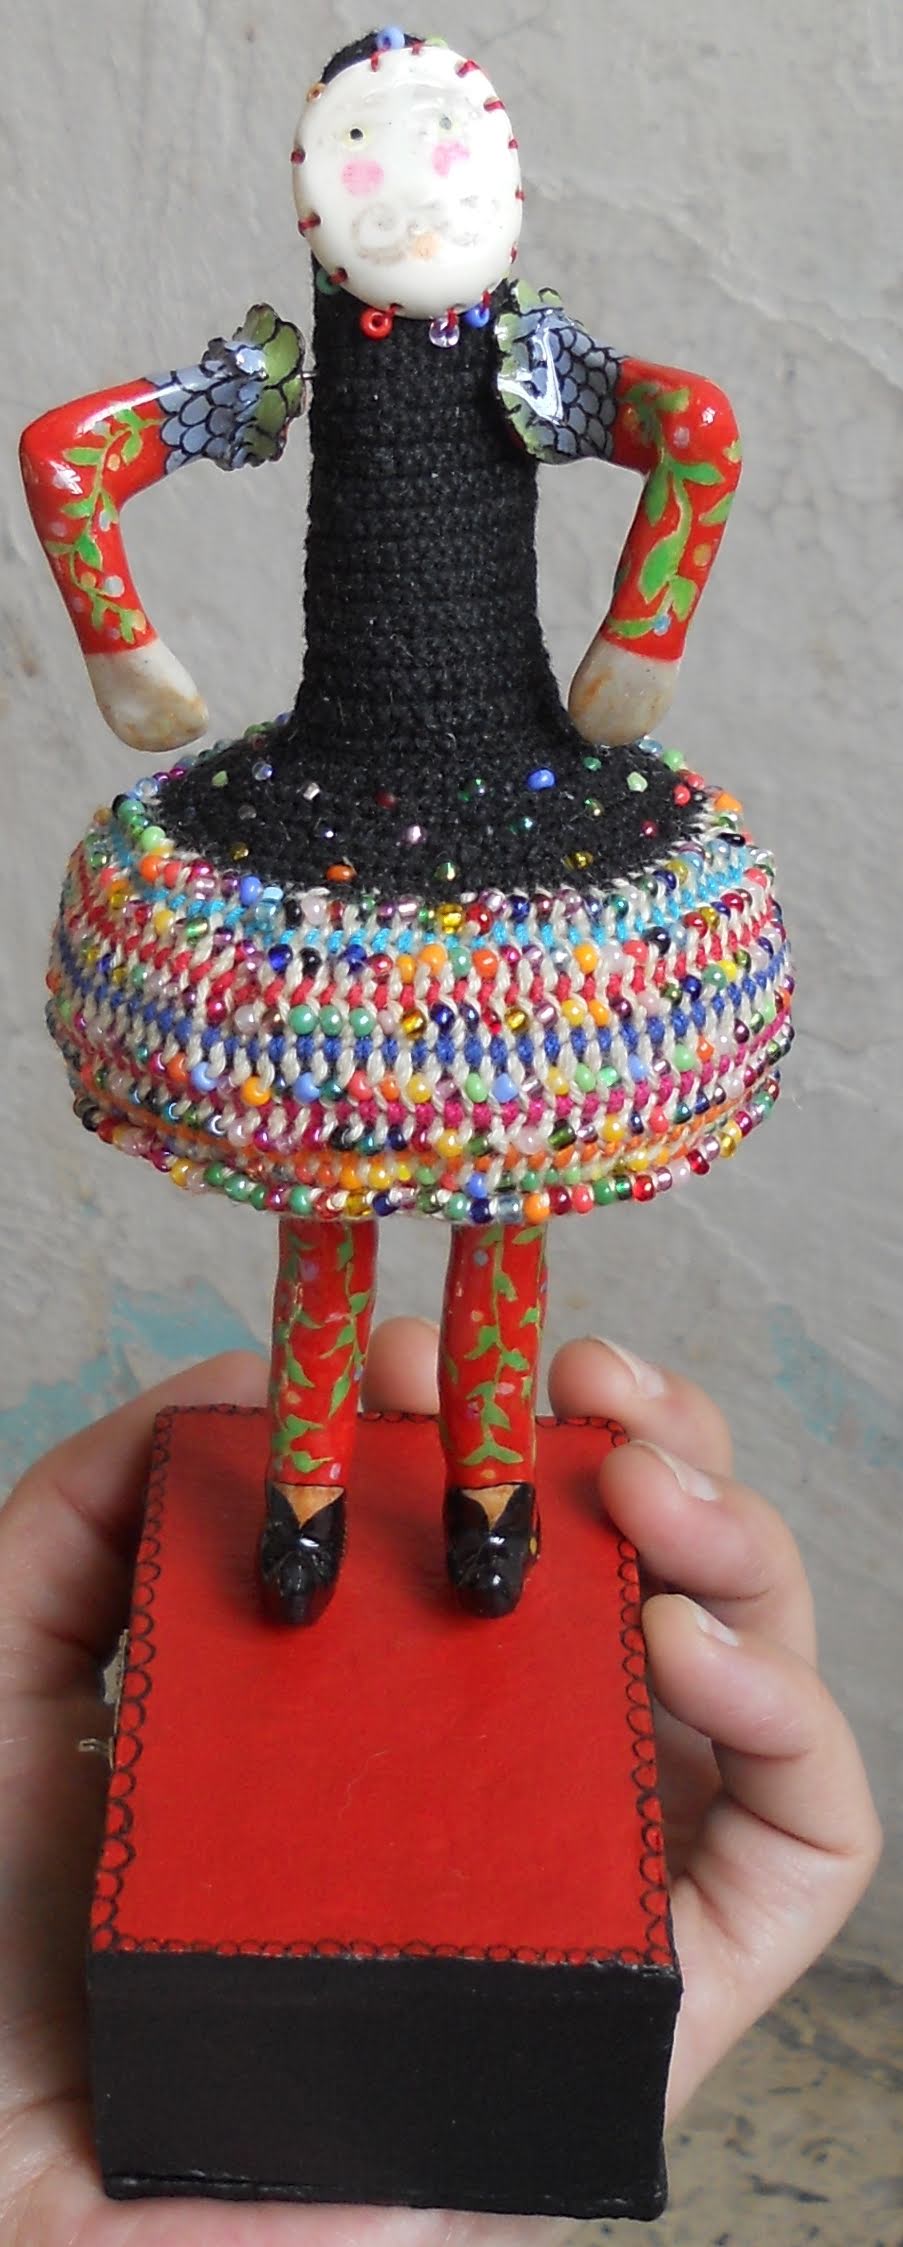
For lack of another name to call him, I’ve been thinking perhaps Leander, what would you say?
I’m also tempted to add a Latin verse my teacher told us in class to the inside of the box:
Personam tragicam
forte vulpes vidit
O quanta species
-inquit-
Cerebrum non habet!
A fox came upon a theater mask by chance
Oh beauty
-thought to himself-
it has no brain!
2 responses to “Medieval doll update”
Genial!!! todo el trabajo… y como lo cuentas, entusiasma ver las fotos del proceso, tantos detalles…ahhhhh!!! Magnifique! monsier Le Guapo!!!!
y el verso… genial también!!!!
je je! :D ¡Gracias! Sigo con la sensación de casi está terminado, ya veremos cuándo de verdad lo acabo. Creo que le voy a poner el verso :D