Papier Mâché Doll – Part 1


Hello!

I’ve been working  on this little cold porcelain/paper mache doll, It didn’t occur to me to take pictures until I was a bit ahead on its making.  But here we go :)

Paper mache doll's head posed over a paper art cut with leaves

I started building him from a flat silhouette made of cold porcelain, I had originally meant to make a flat doll but was very taken by the model of a doll’s head carved on wood that I saw at Elsita Mora’s blog about hand made dolls, which is truly a beauty!

Front view of a paper mache doll's head on the making

 I added tiny bits of tissue paper using watered down cold porcelain as a binder.
After it had dried up then I would sand it a bit, add some more and sand some more, over and over, until it started taking shape!

Side view of a paper maché doll's head on the making

I really love the angles on a child’s head and I felt very happy looking at the shades they would cast. It seemed as if he had the softest kindest smile just  waiting to be painted on his face.
paper mache doll on the making, top view of the head                Top view of a paper mache doll's head, on the making

Front view of a miniature paper mache doll on the making

Top view of the head of a paper mache doll on the making
I was very eager at that point to know what it would feel like to paint a face on a three-dimensional tiny baby/toddler’s head since I had not sculpted one before.
Then I made him a little pot-belly and sanded him some more.
Side view of a tiny paper mache doll's body on the making

Side view of a paper maché doll on the making, working on a pot belly


After that I forgot to take pictures if how I made his arms and legs but it seems like a good thing now because there are so many pictures already!

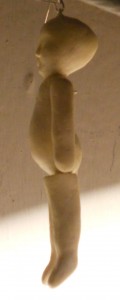
Adding the legs to a paper mache doll on the making                    Side view of the newly added legs of a paper mache doll on the making
                                                                                                             
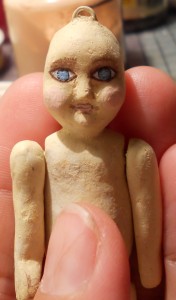
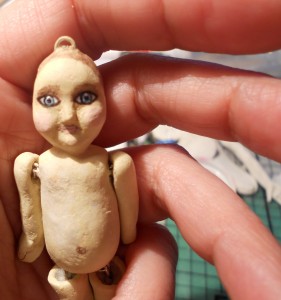
           Miniature paper mache doll on the making, hand held.
 I finally ventured with the paint, it wasn’t the feeling I had expected,

        it is still tricky even with all the guidelines the shape adds
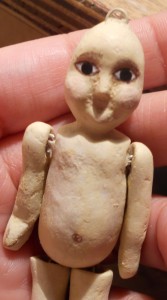
  

I made him little wings, thinking about some wooden figures
that come painted in bright colours I have seen hanging from ceilings at different places :D

 Unfortunately my little wings crumbled so I wont be using those :(

  I’m trying to make up my mind  between a set of paper mache wings or embroidering over felt or fabric.

Any suggestions? :)

 Update: You can see the finished doll on my next post about it by clicking on these lines


2 responses to “Papier Mâché Doll – Part 1”

Leave a Reply

Your email address will not be published. Required fields are marked *

This site uses Akismet to reduce spam. Learn how your comment data is processed.