In my humble opinion beads are a big part of what makes the difference between good or great accessories.
I always come across wonderful shapes, colors and material and come home with a bundle of inspiring material that makes me feel enthusiastic about creating new designs every time I start a project.
However, even though there’s such a wide range of beads to choose from and even more available than I can bring home with me, I still need to create my own (although seriously, I bring kilos worth of beads when I do restock) , it’s some sort of compulsion in my case, to make something “unique” that can’t be found elsewhere.
Now, talking about originality, I’ve heard the saying:
There’s nothing new under the sun
That still doesn’t mean there can’t be something specially made for someone or with a particular idea in mind.
I thought of sharing how I make the little doll beads I use. In this case it’s inspired on a Mexican clay angel figure I saw on an “Árbol de la vida” (tree of life). Although I’ve only gotten the molding part done. I’ll do the painting later and will probably add those pictures under these as well.
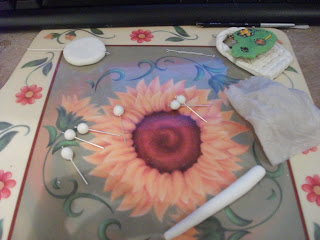
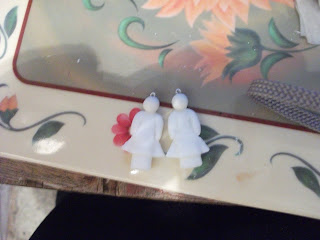
Here you can see I have the little heads set on silver plated wire and I’m getting ready to make the body part. I keep the rest of the paste I’ll be using later under a wet napkin.
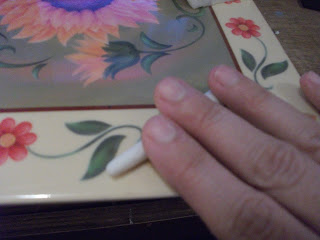
I need both bodies to be equal in length and width
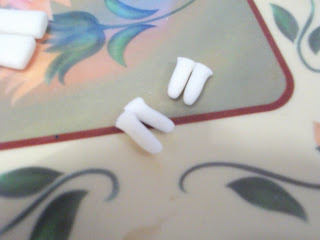
Folded in half and cut. I find that working in pairs is easier when making 2 similar items.

And attached to the body and smoothed over to make the joint invisible.
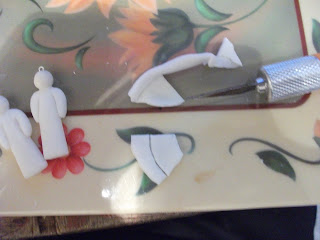
Now, this angel was wearing a roman warrior-like outfit, so I need to make skirts for them.
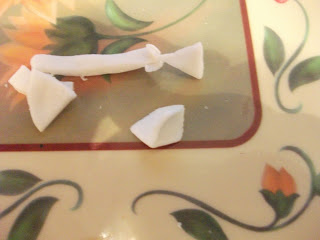
The first skirt I made by folding the already thinned layer and cutting the shape out, then splitting it back open to separate the 2 “skirts”.
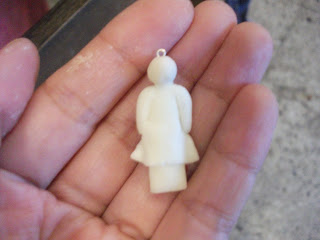
Then I attached it to one of the bodies.
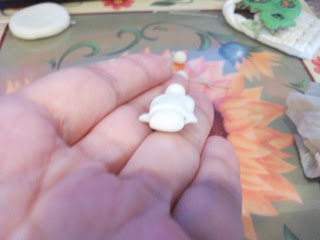
Bottom view, you can see how it goes all around the figure.

For the second angel I thought of getting the measure from the figure.

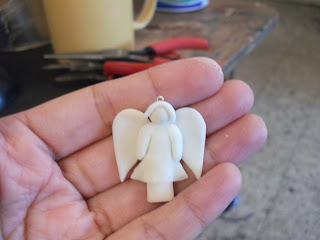
Now I shaped one of the wings and placed it on top of another layer to cut out the other one following the first one’s shape.
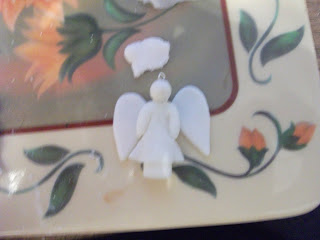
Made sure they were the right size for the angel’s body.
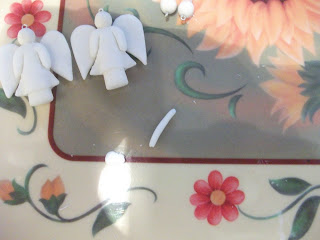
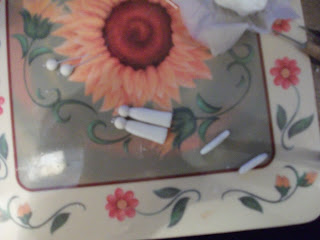
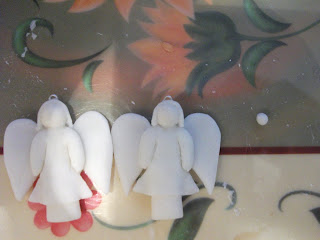
Did the same for the other angel and started making a helmet. The one I saw was wearing one. So I made a very thin strip with paste.
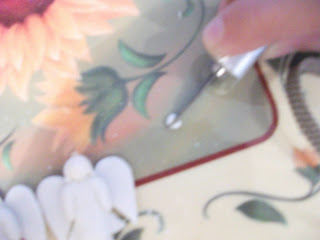
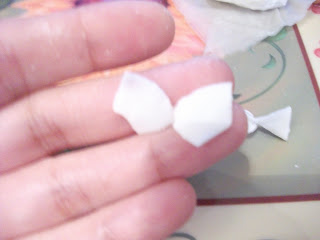
Then cut a tiny ball of paste in half. I’m sorry for the blurry picture.

And attached it on top to make the front of the helmets.
That’s how far they have gone for now :)
If you would like to read about how I paint them I’ve just published a blog post about it!


3 responses to “Hand Made Beads”
Disculpa que lo comente aquí, soy MALCO, al que le pediste el disco de Duda Mata. Te paso el link, disuclpa la tardanza.
http://www.megaupload.com/?d=EM2NFJTP
This is a great blog post and I love that you have shown how you make your dolls come to life :-)
Thank you Miss Bohemia! :)